
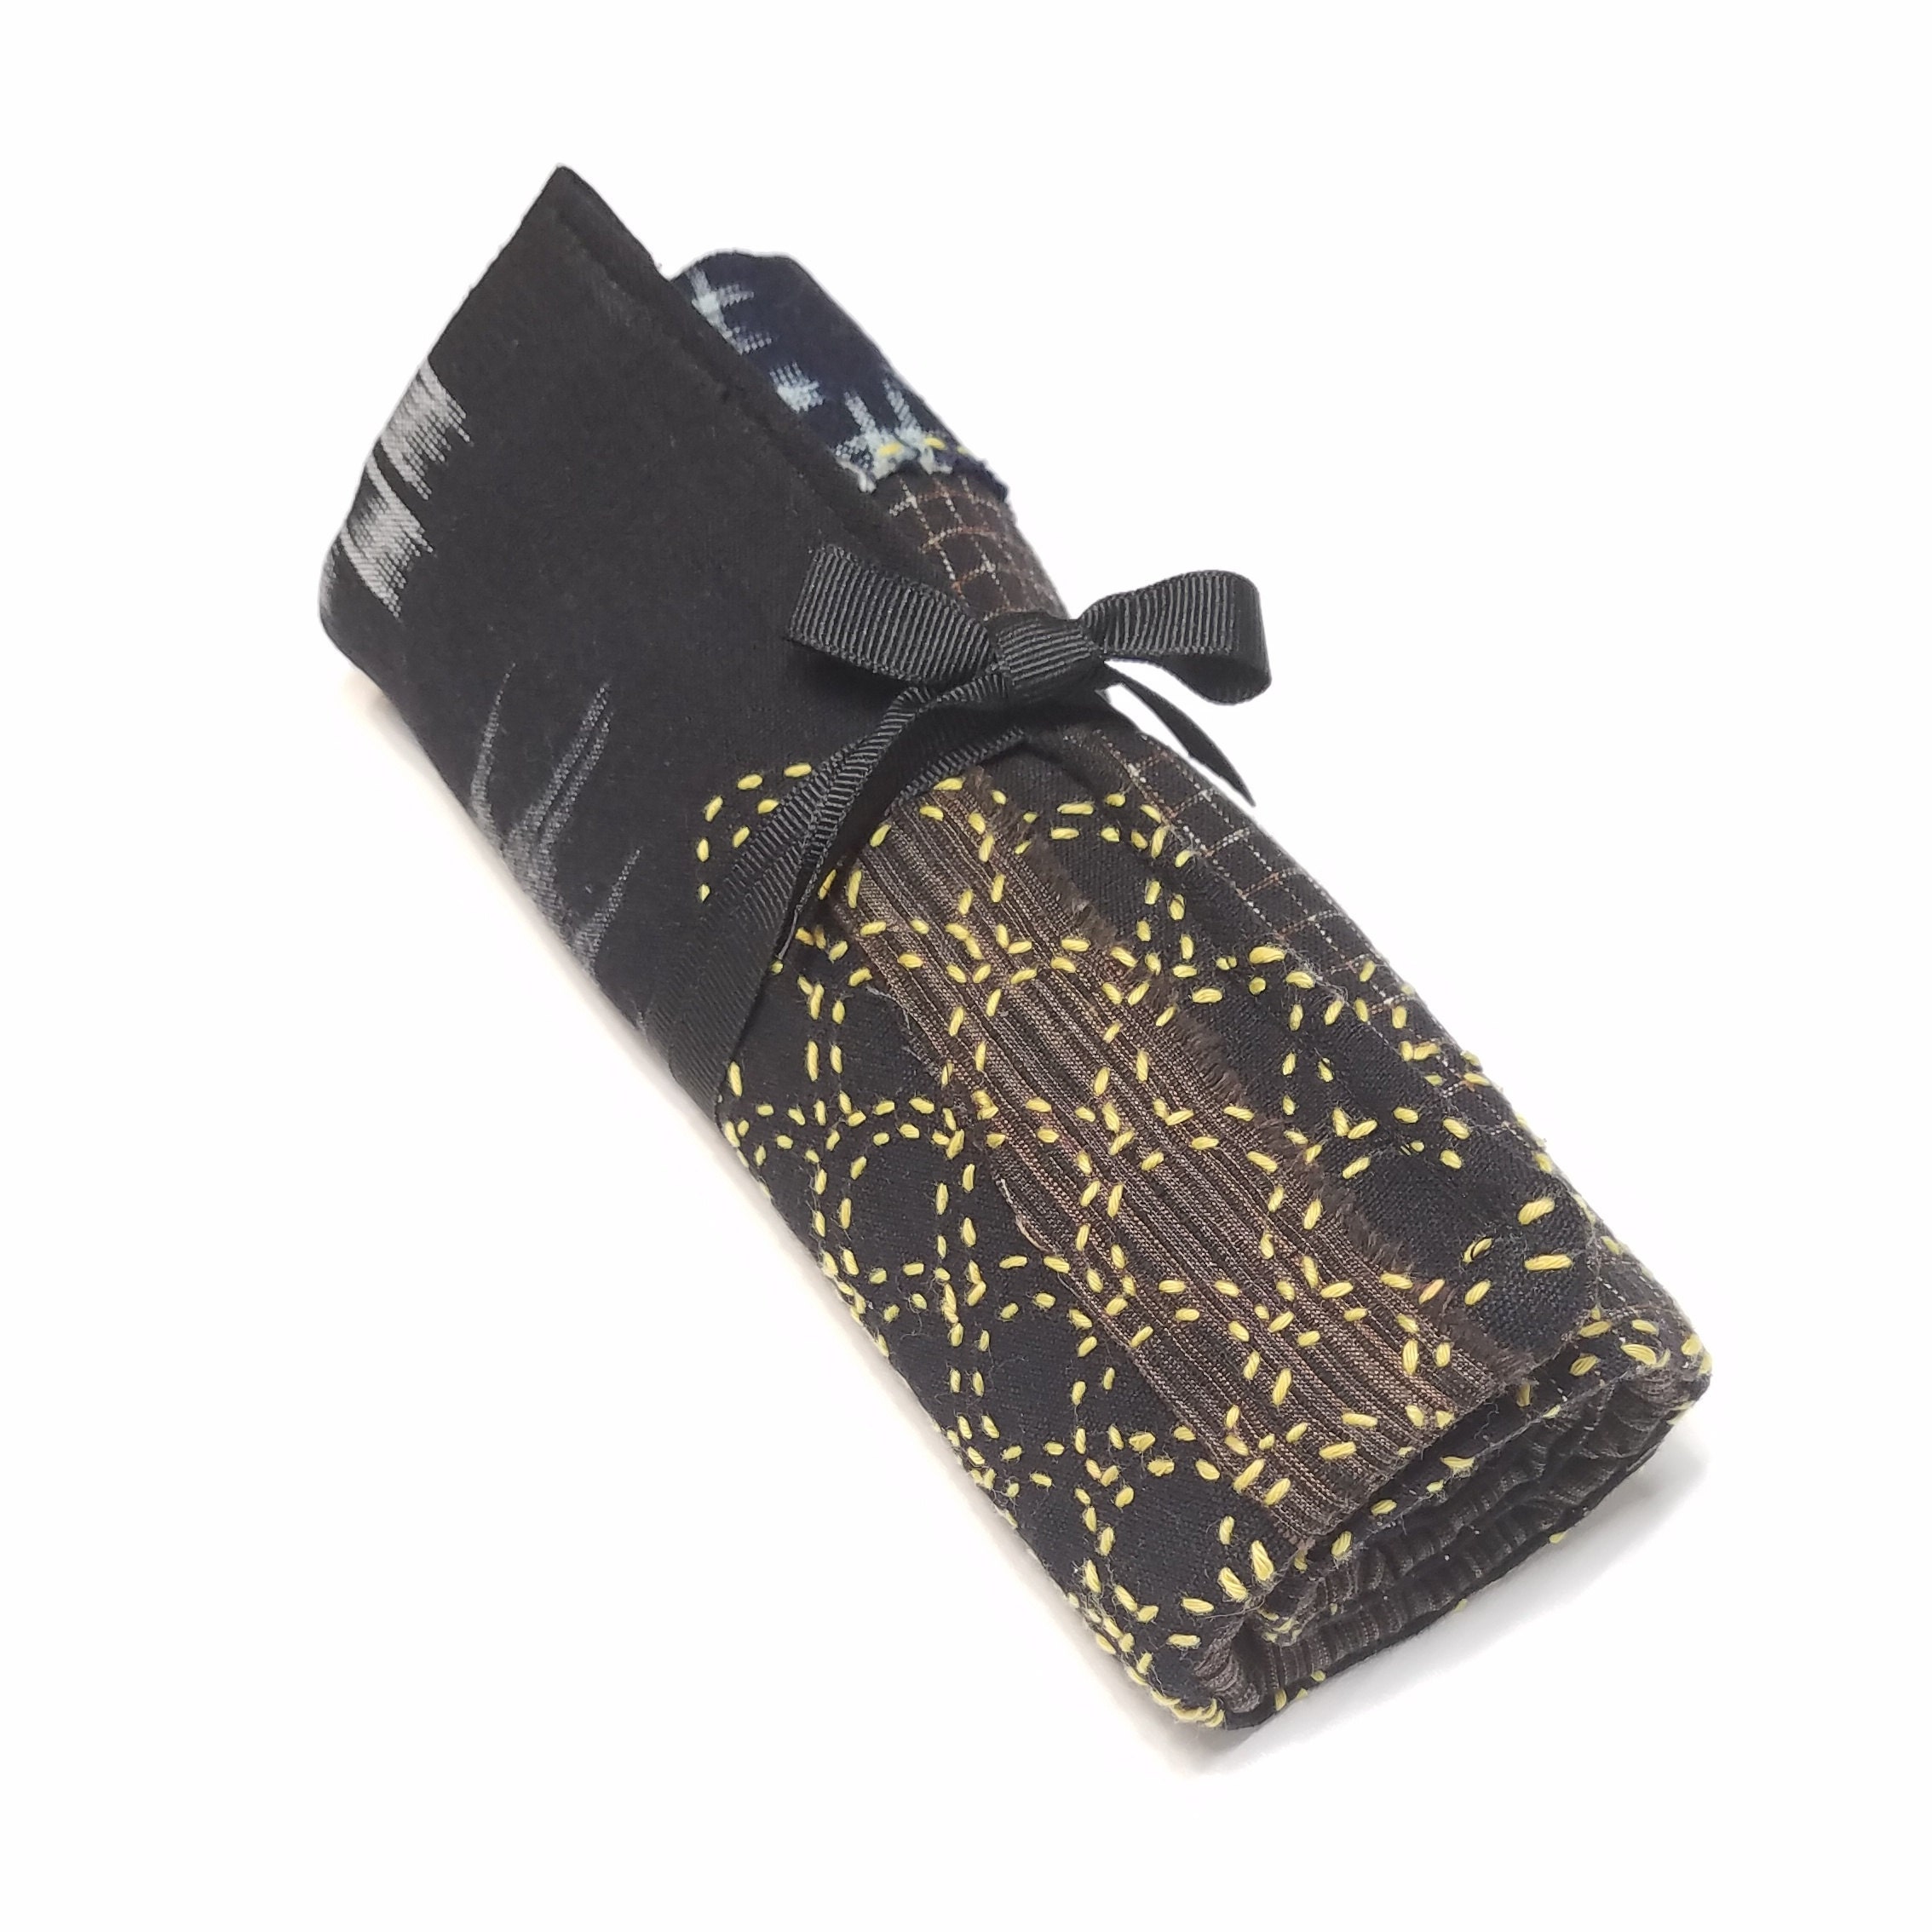
Recently I taught myself how to crochet. I learned how to knit a few years back but with the recent arctic blast I decided that it was a good time to try crocheting too. So, now I have a growing collection of crochet hooks. These, of course, needed to be organized so I dug through my growing pile of vintage, Japanese cotton scraps and pulled out some of my favorite fabrics to create a boro-style crochet hook roll.
Boro is a wonderful Japanese "patch-work" style in which clothing was repaired with scraps of fabrics. These boro garments were often repaired and handed down from generation to generation.
I drafted myself a pattern, which can be seen below. It is a simple sewing project and can be made in any size that is required.
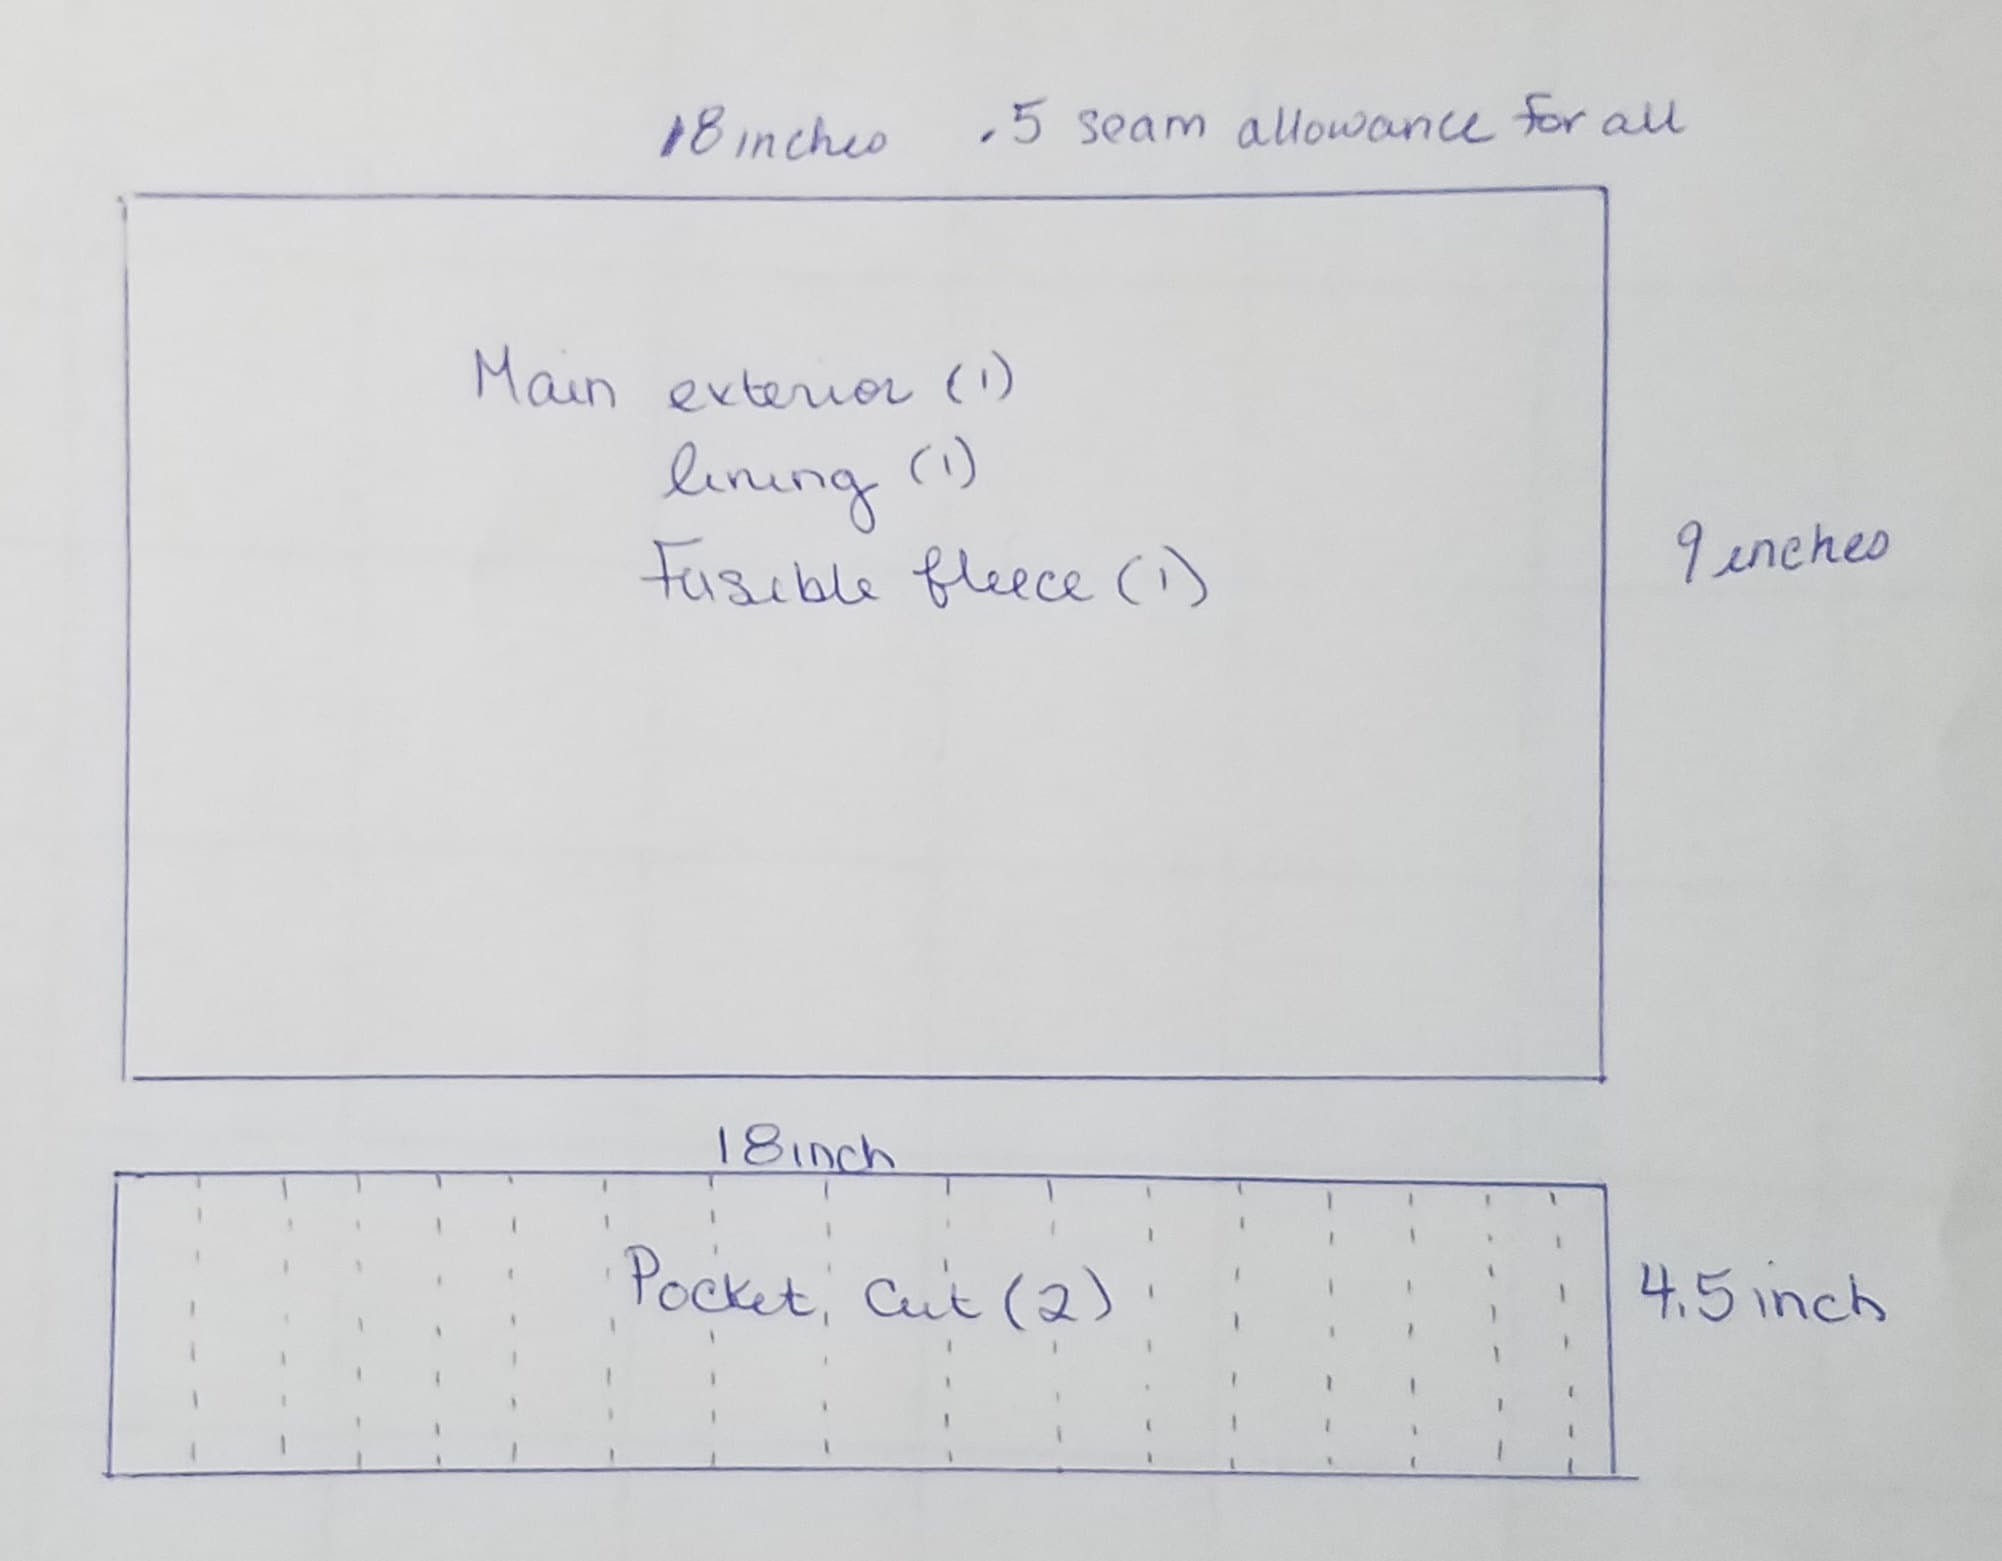
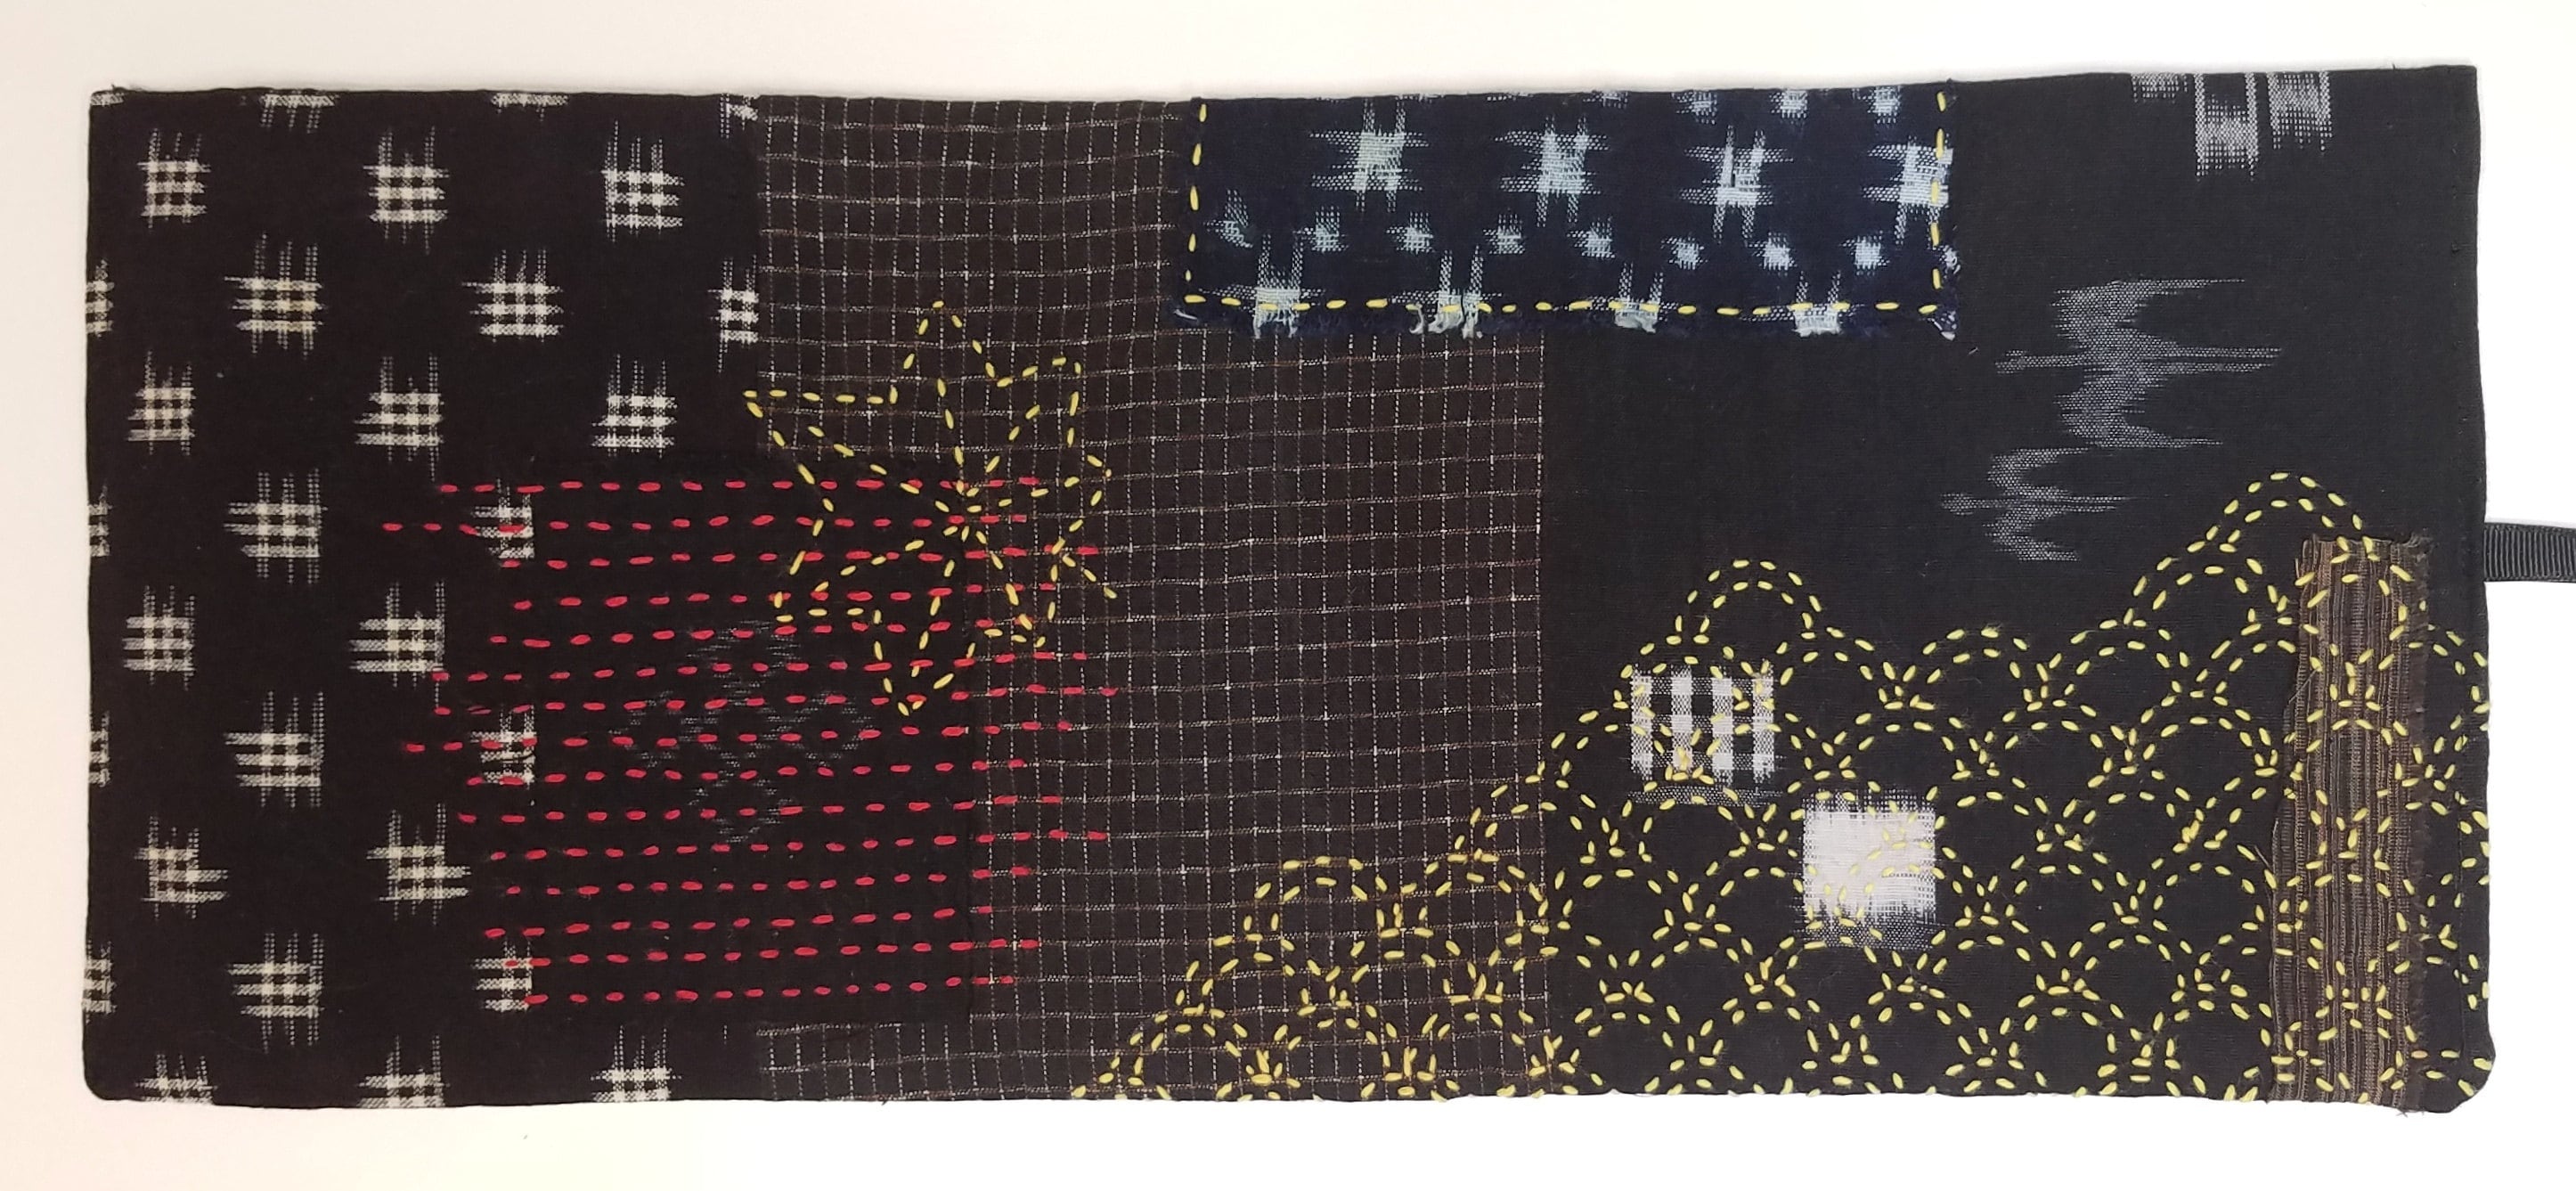
I pieced together the main exterior panel using my Japanese cotton fabrics. I made sure that the panel measured 18 x 9 inches after I was finished sewing it together. You can either piece a panel together or use one 18 x 9 inch piece of fabric. For the lining I used a solid, indigo colored cotton that was also cut to 18 x 9 inches. I attached the fusible fleece to the wrong side of the main panel lining.
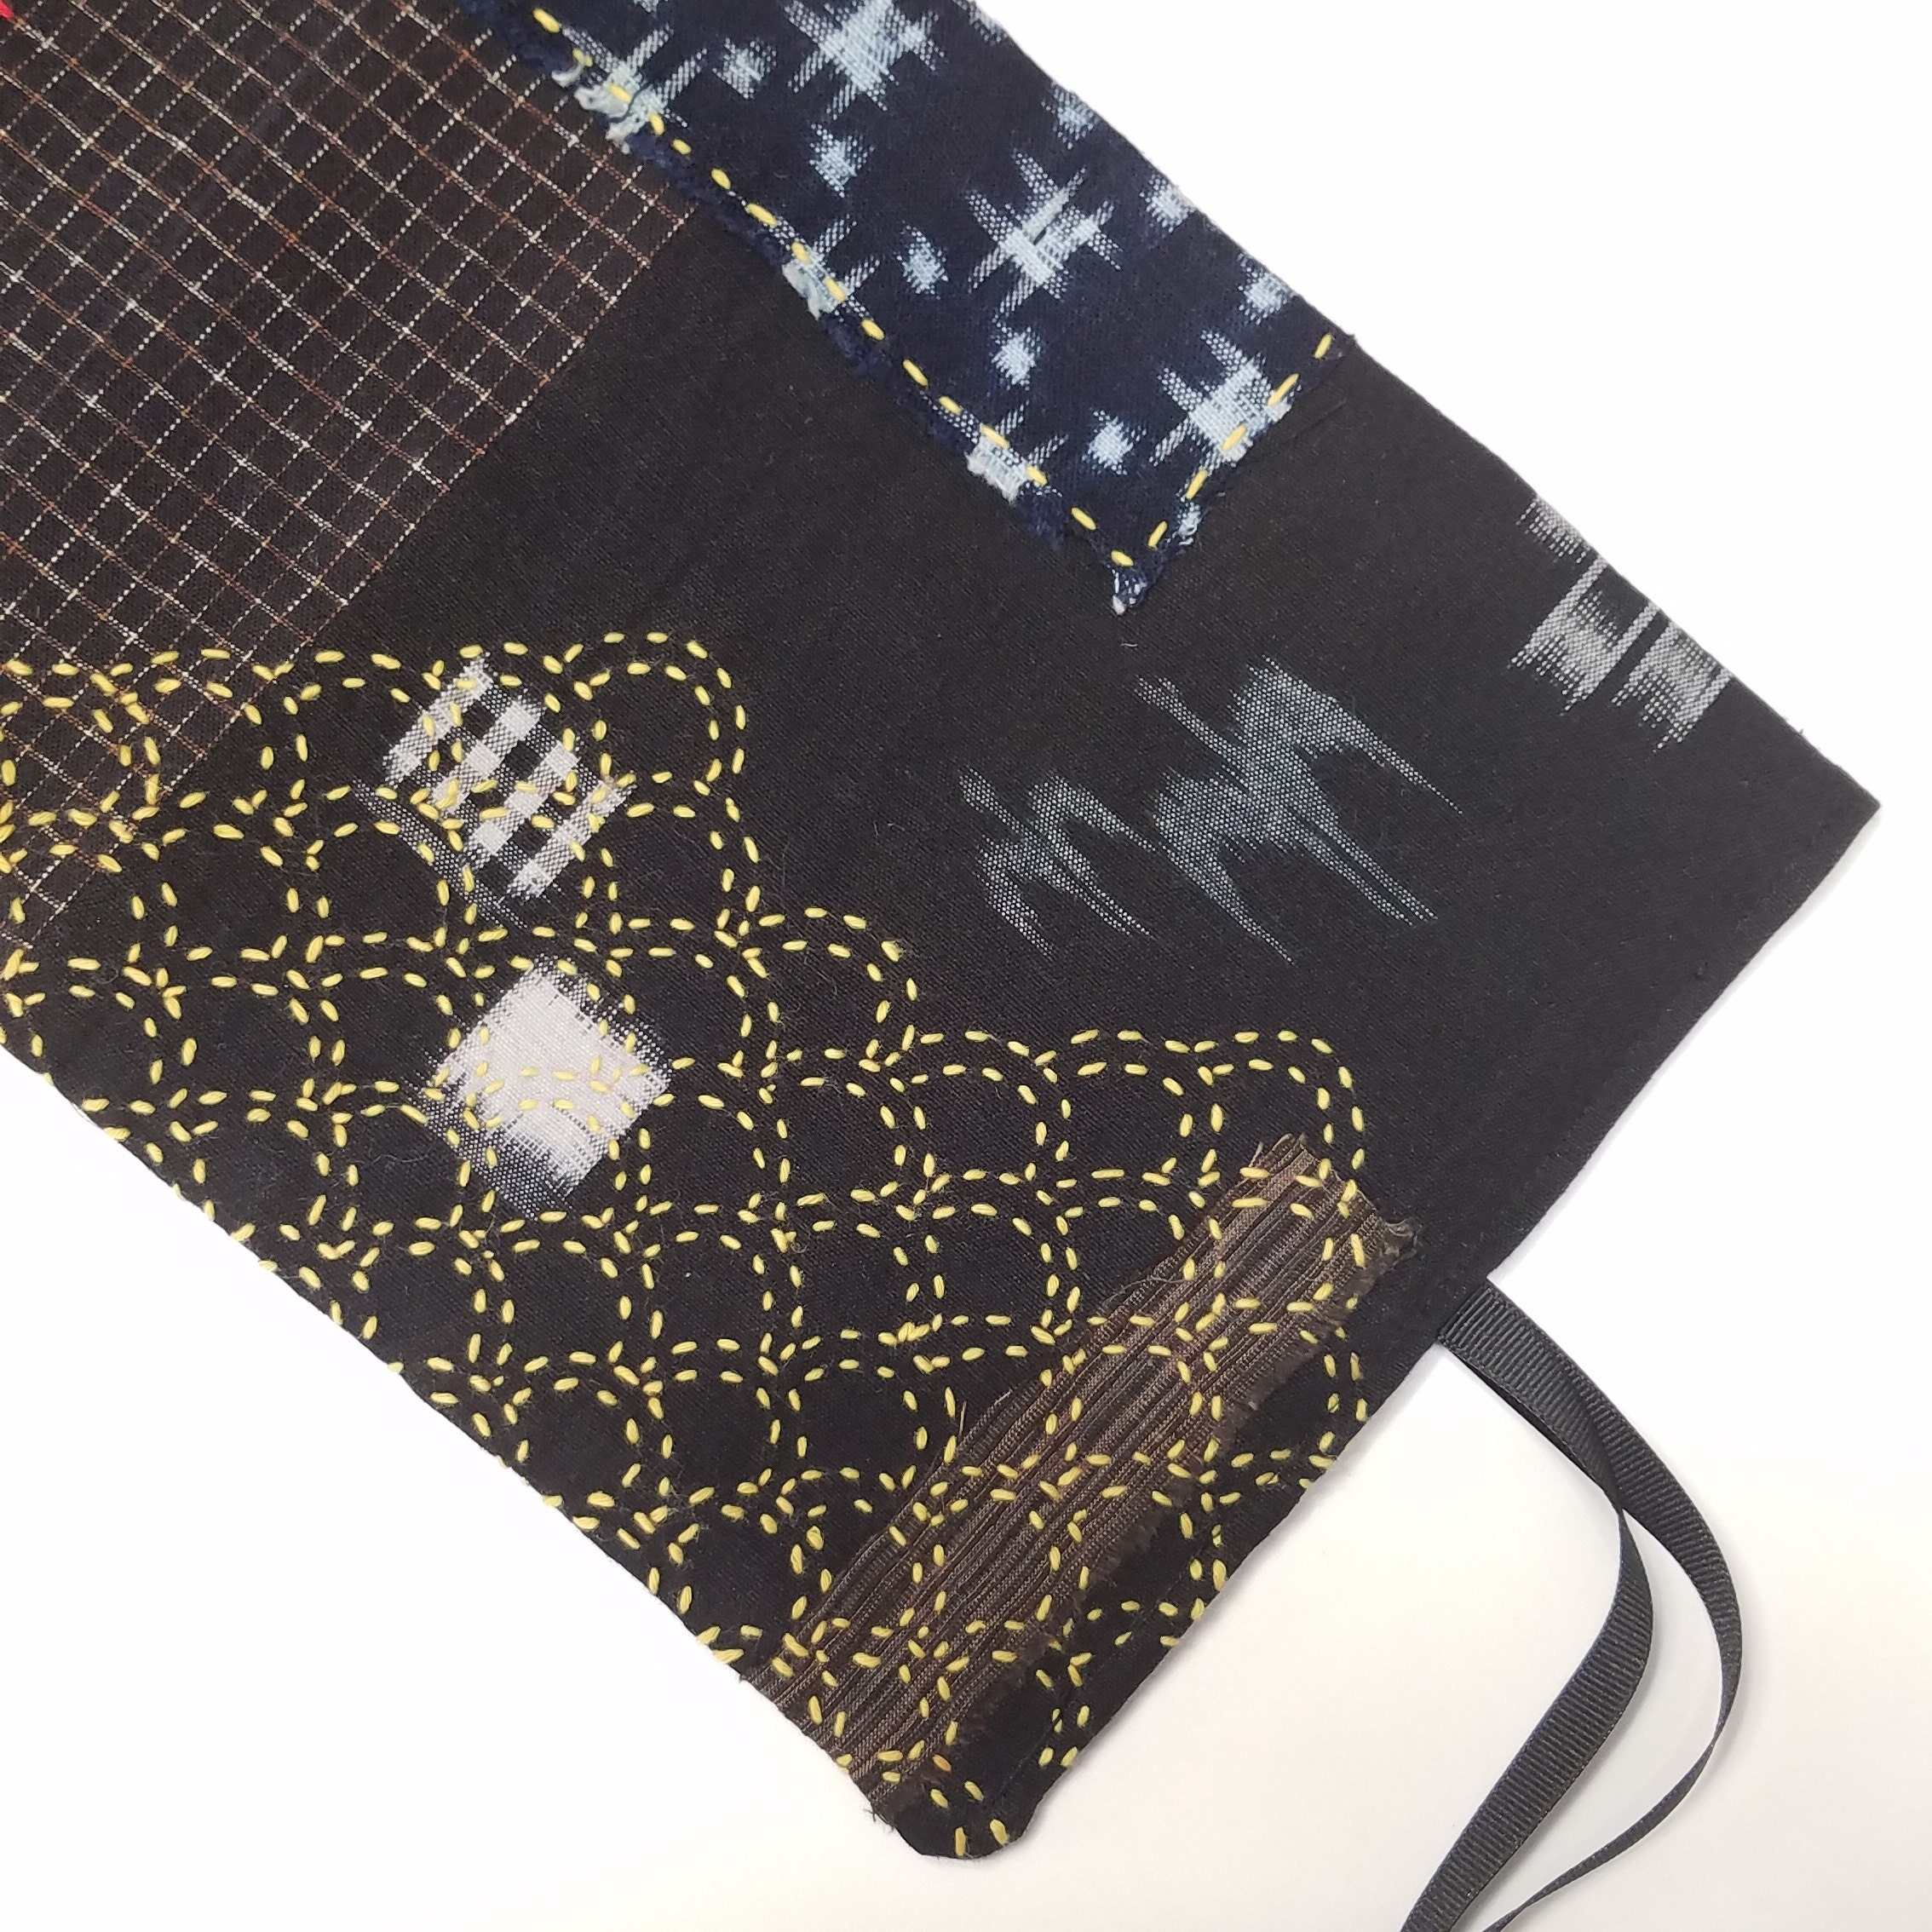
I then added sashiko stiching to the main exterior panel.
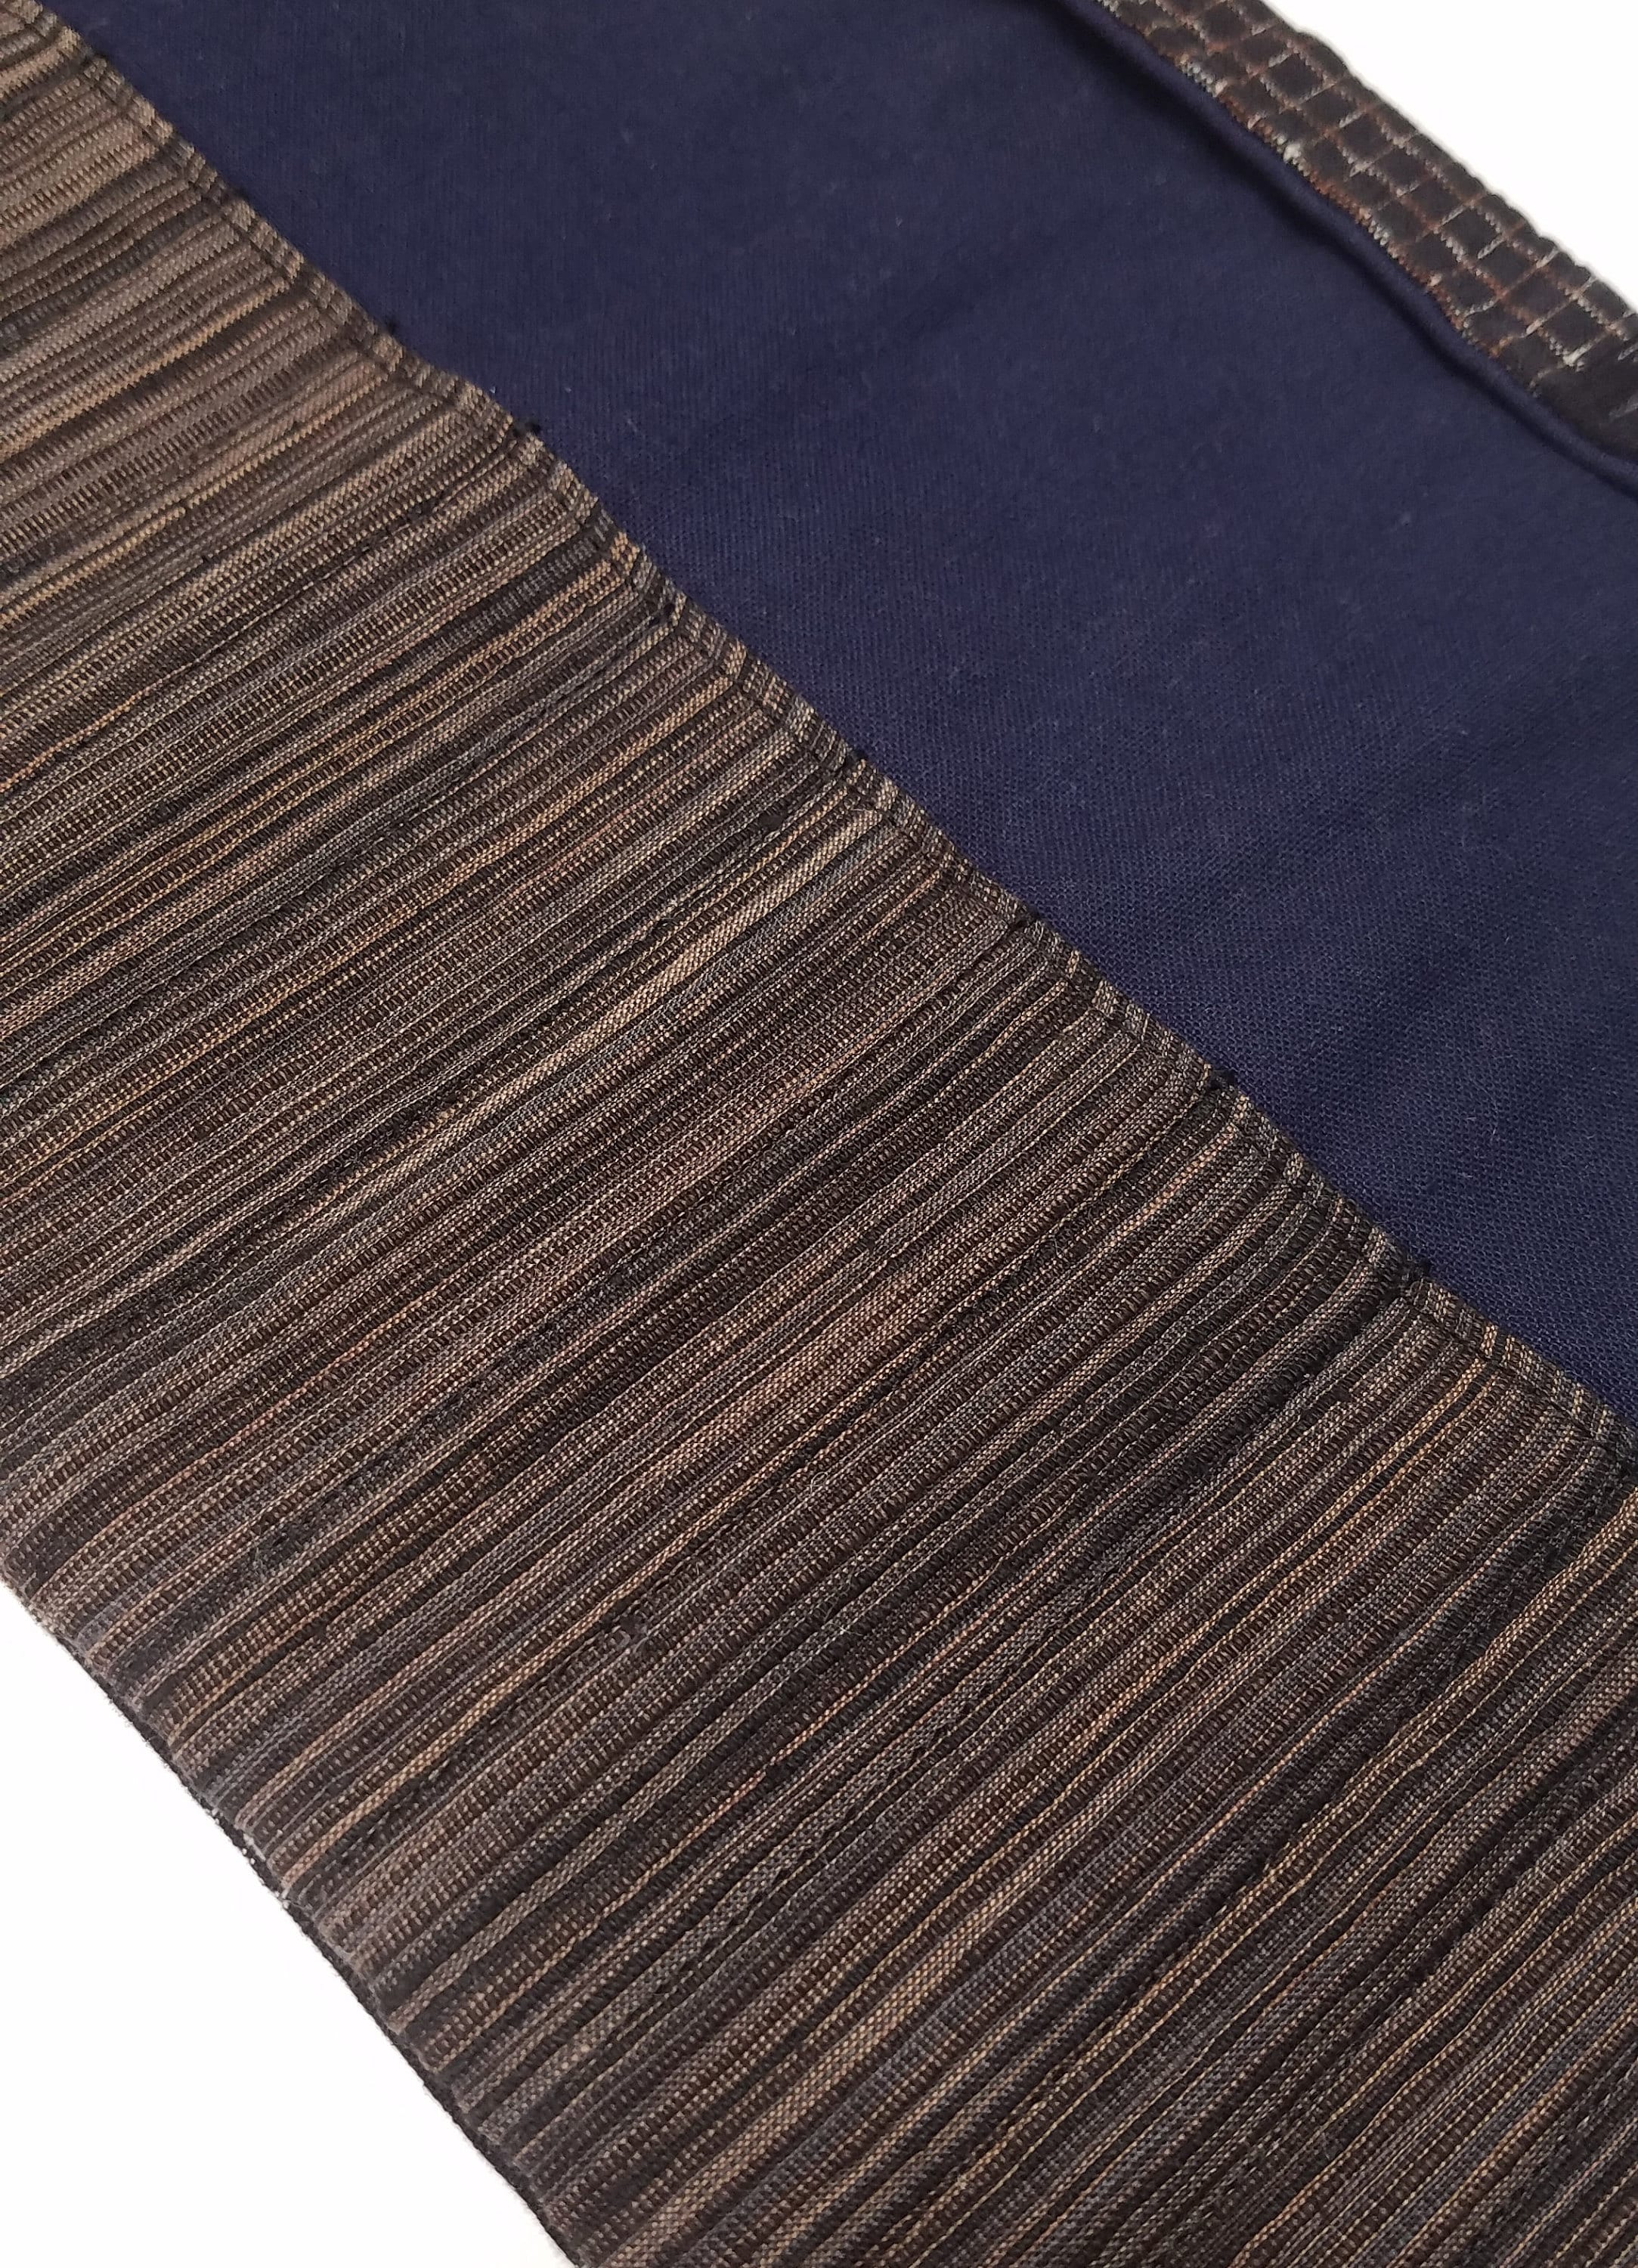
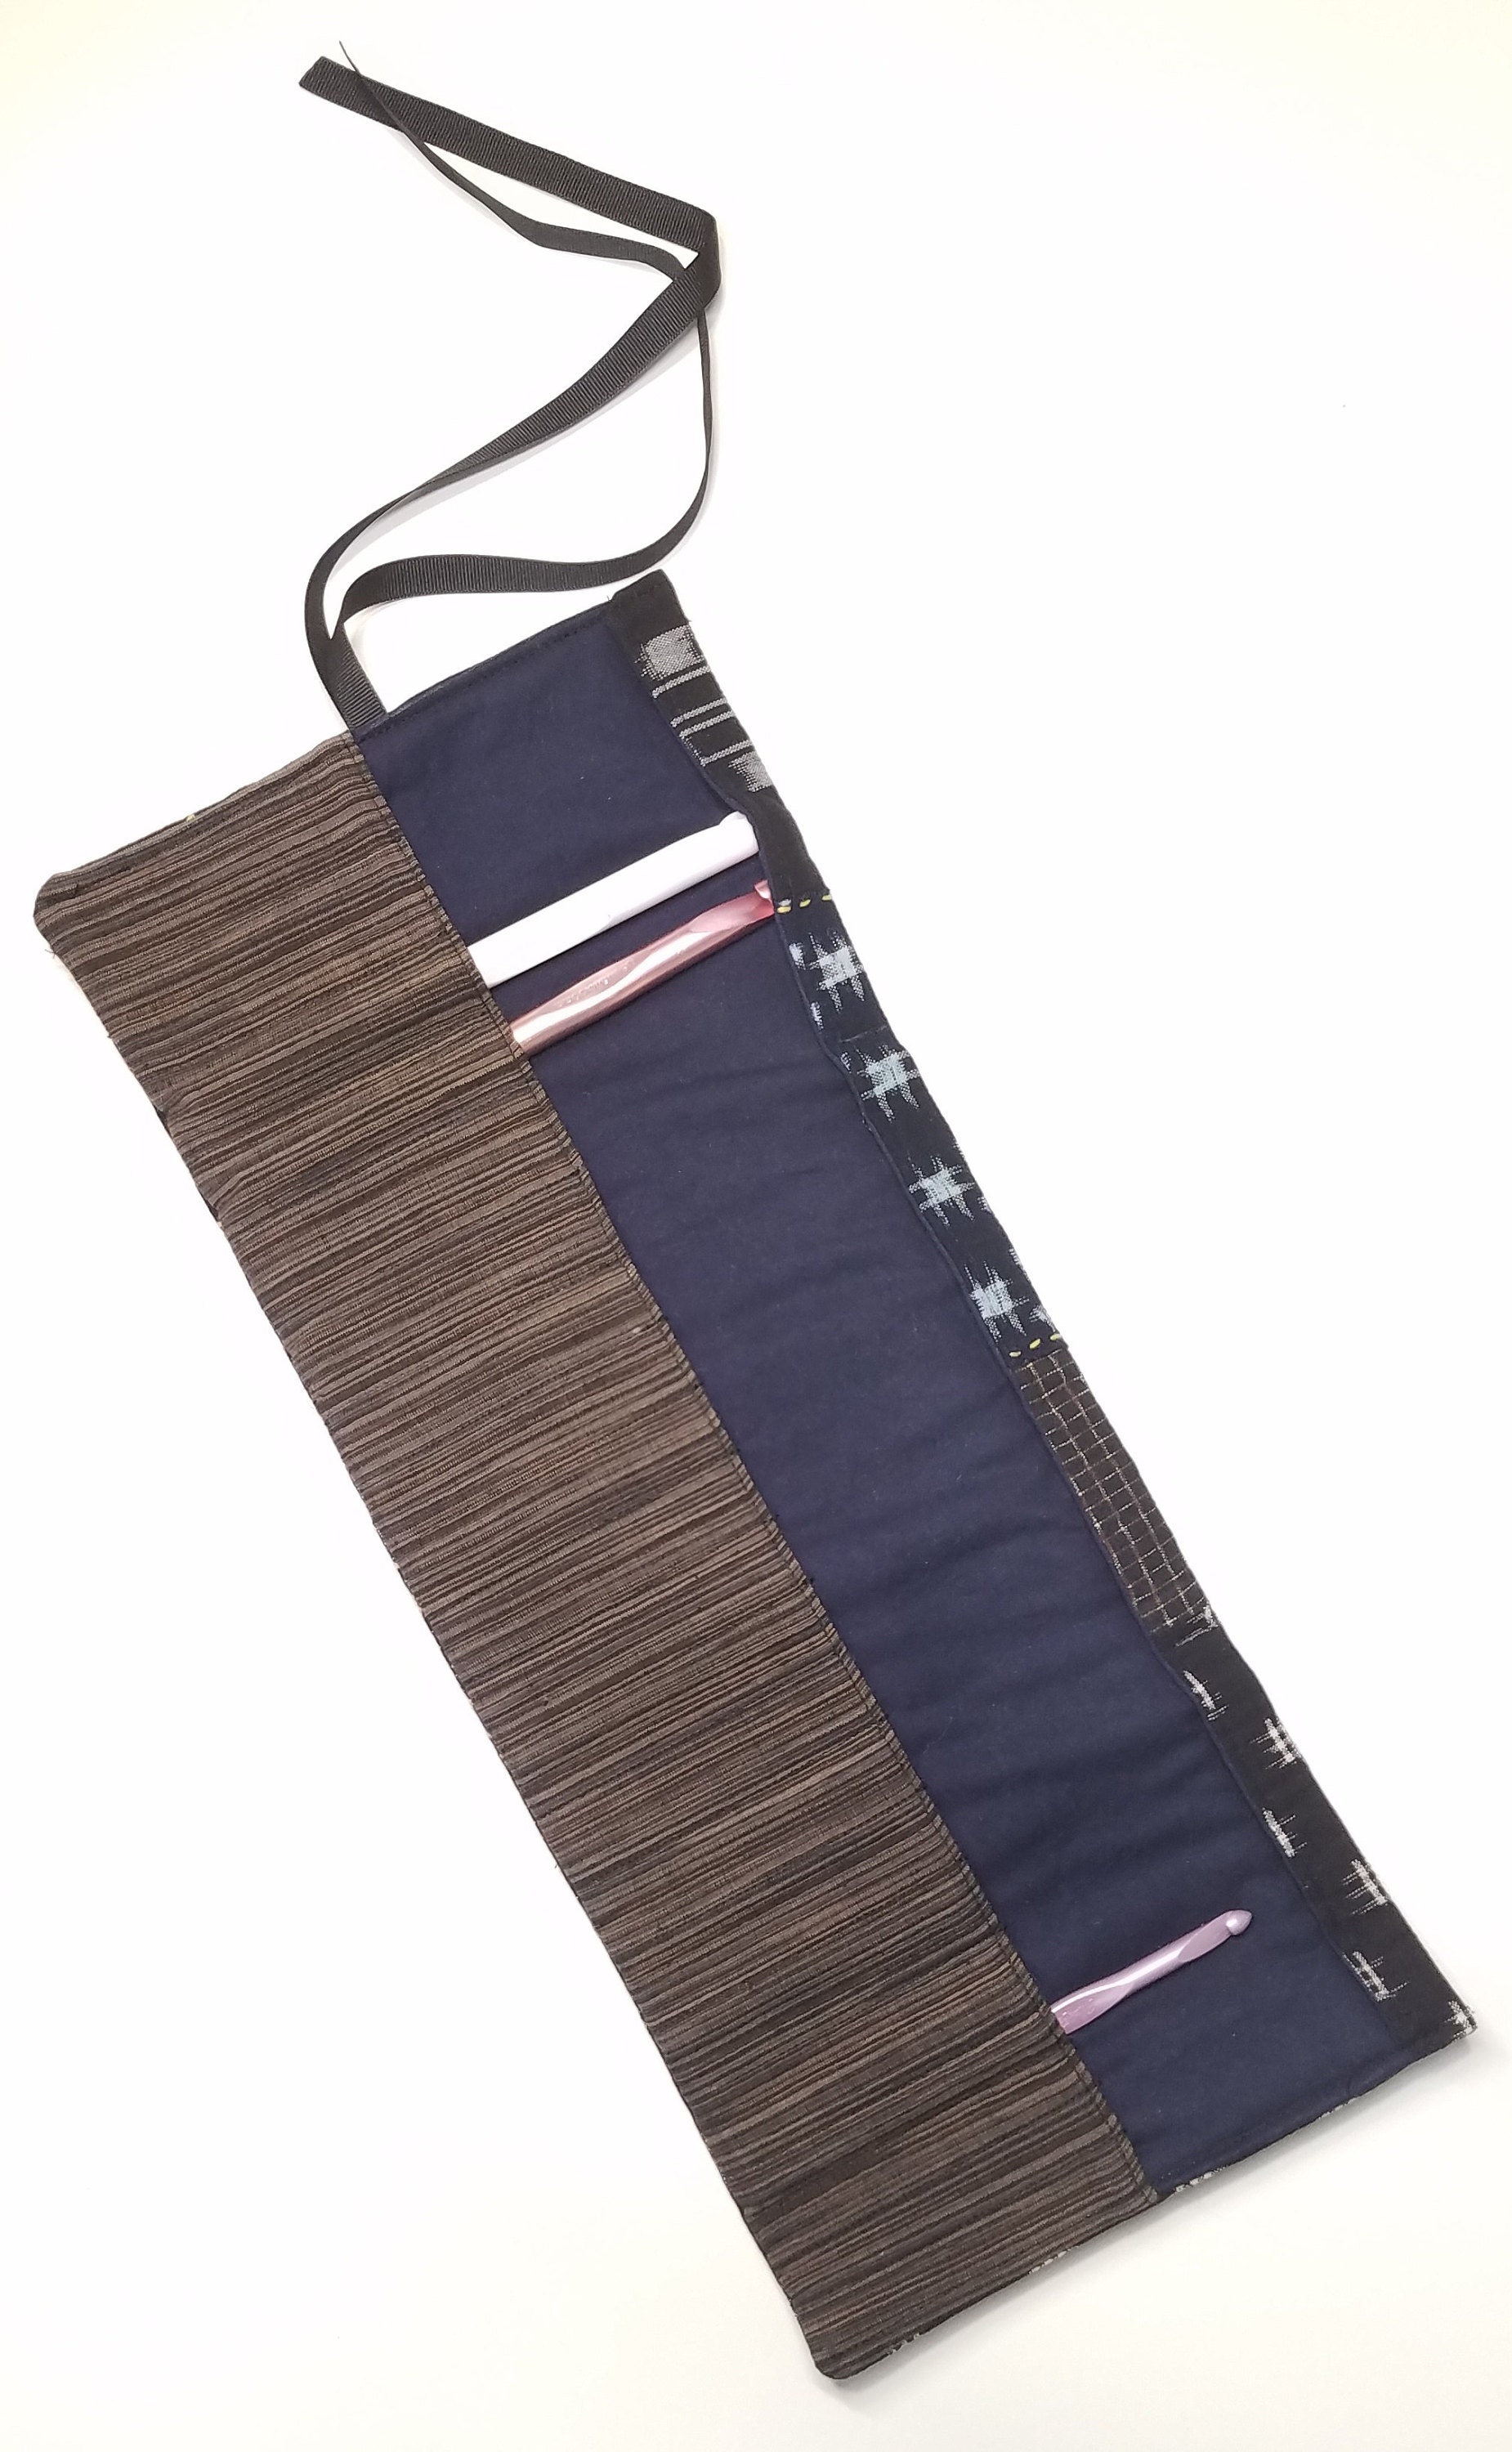
To create the pocket, cut two 18 x 4.5 inch sections of cotton. For the part of the pocket that is facing out, I used a gorgeous, earth-toned, striped vintage cotton. I used the solid, indigo colored cotton for the part of the pocket that is facing in. Place the 2 pocket sections together with right sides facing and sew along one long side (18 inch) with a .5 inch seam allowance. Flip the fabrics so that the wrong sides are together and press. Top stitch about .25 inches from the top of the pocket edge. Place this pocket on the main panel lining so that the bottom, raw edges and side edges line up. Make sure that both the pocket and lining fabrics are facing up (the good sides are showing). Baste the raw edges of the pocket to the lining panel.
Using a chalk pen and ruler, measure and create lines for your individual, crochet hook pockets. I made an equal number of 1 inch and .75 inch sized pockets and then a few .5 inch sized pockets. Sew down these lines, sewing the pocket to the main lining to create the smaller pockets to hold your crochet hooks.
If you would like to add a tie for a closure, cut a 2 to 3 foot piece of ribbon and fold it in half. Place the ribbon on the good side of the exterior panel with the cut edges of the ribbon facing towards the center of the panel. Measure 4.5 inches from the top of the panel and pin the center "loop" of the ribbon to raw edge on the panel's short side, so that the ribbon is centered on that side.
Place the main lining/pocket over your main exterior panel, right sides together. Sew along the 4 sides using a .5 inch seam allowance. Make sure sure to leave a hole for turning. Trim the extra fabric from the corners and turn right side out. Press and topstich, if desired.
Fold over a portion of the top of the crochet hook roll to the inside and secure with a few stitches. This will help prevent the needles from sliding out. *I originally allowed for about 1.5 inches to be turned over here but my new hooks ended up being a bit taller than my original hook I used for my measurements. This meant that I could not fold over the fabric as much as I wanted*
I have recently started offering sashiko supplies in my online shop and will be adding more items in the following months. For this project I used Olympus sashiko needles and Olympus sashiko threads in a goldenrod and red color.
