
Slide clasp closures have been available for quite a while but they are gaining in popularity and are now easier to find. These clasps can securely close a pouch or bag and give the bag a unique, vintage look. They are simple to install and perfect for those learning how to sew or those who just hate installing zippers.
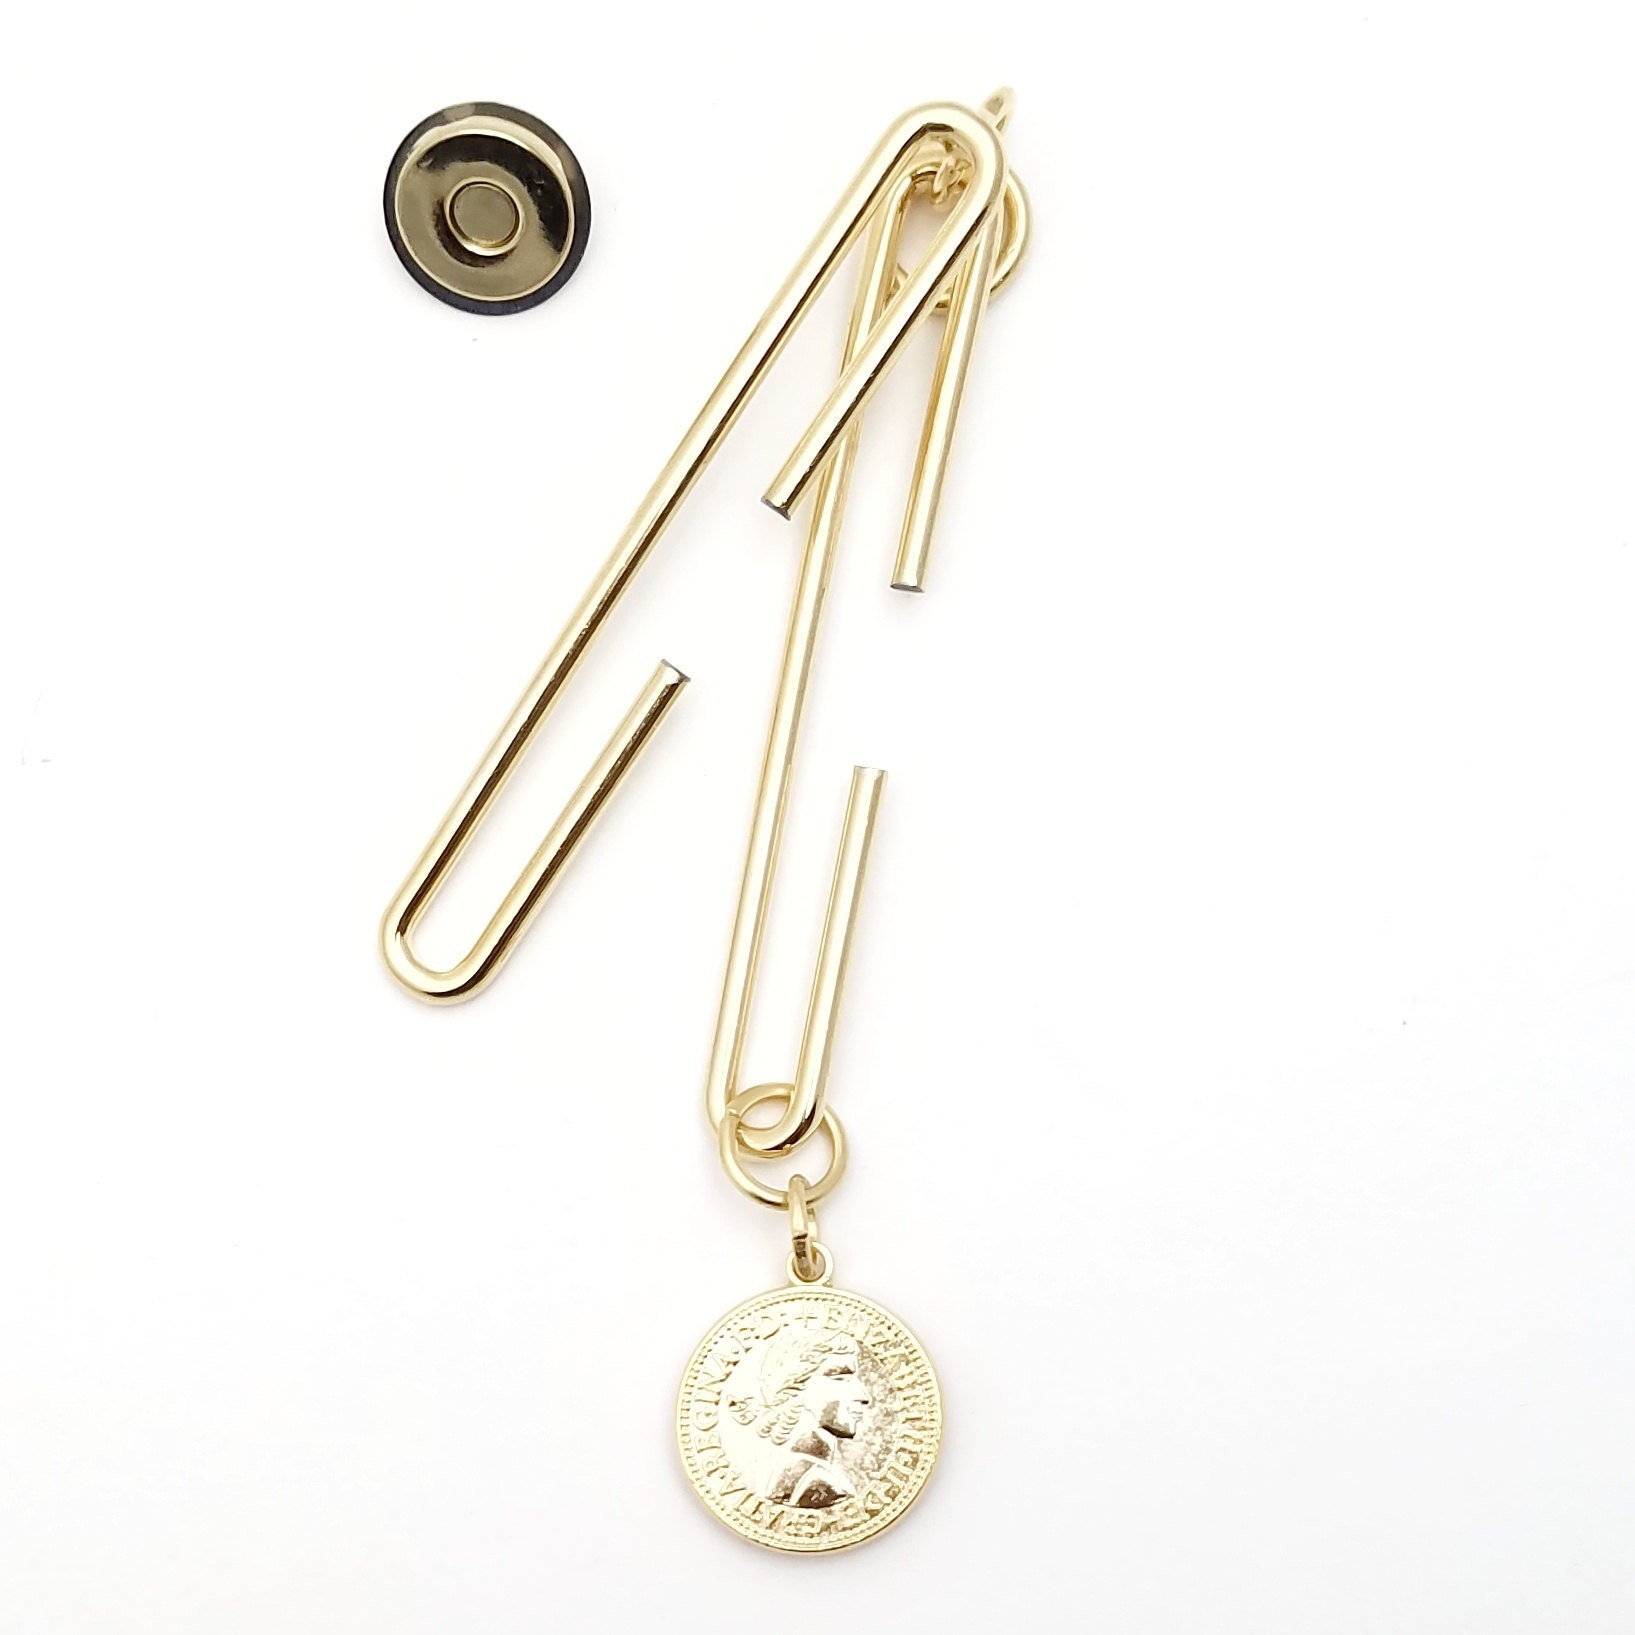
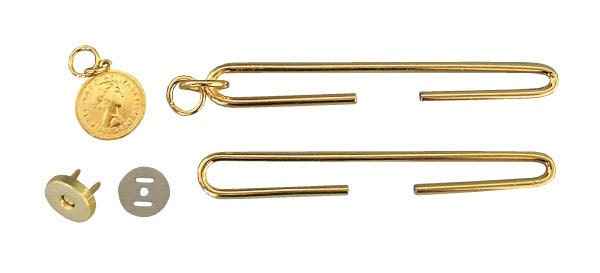
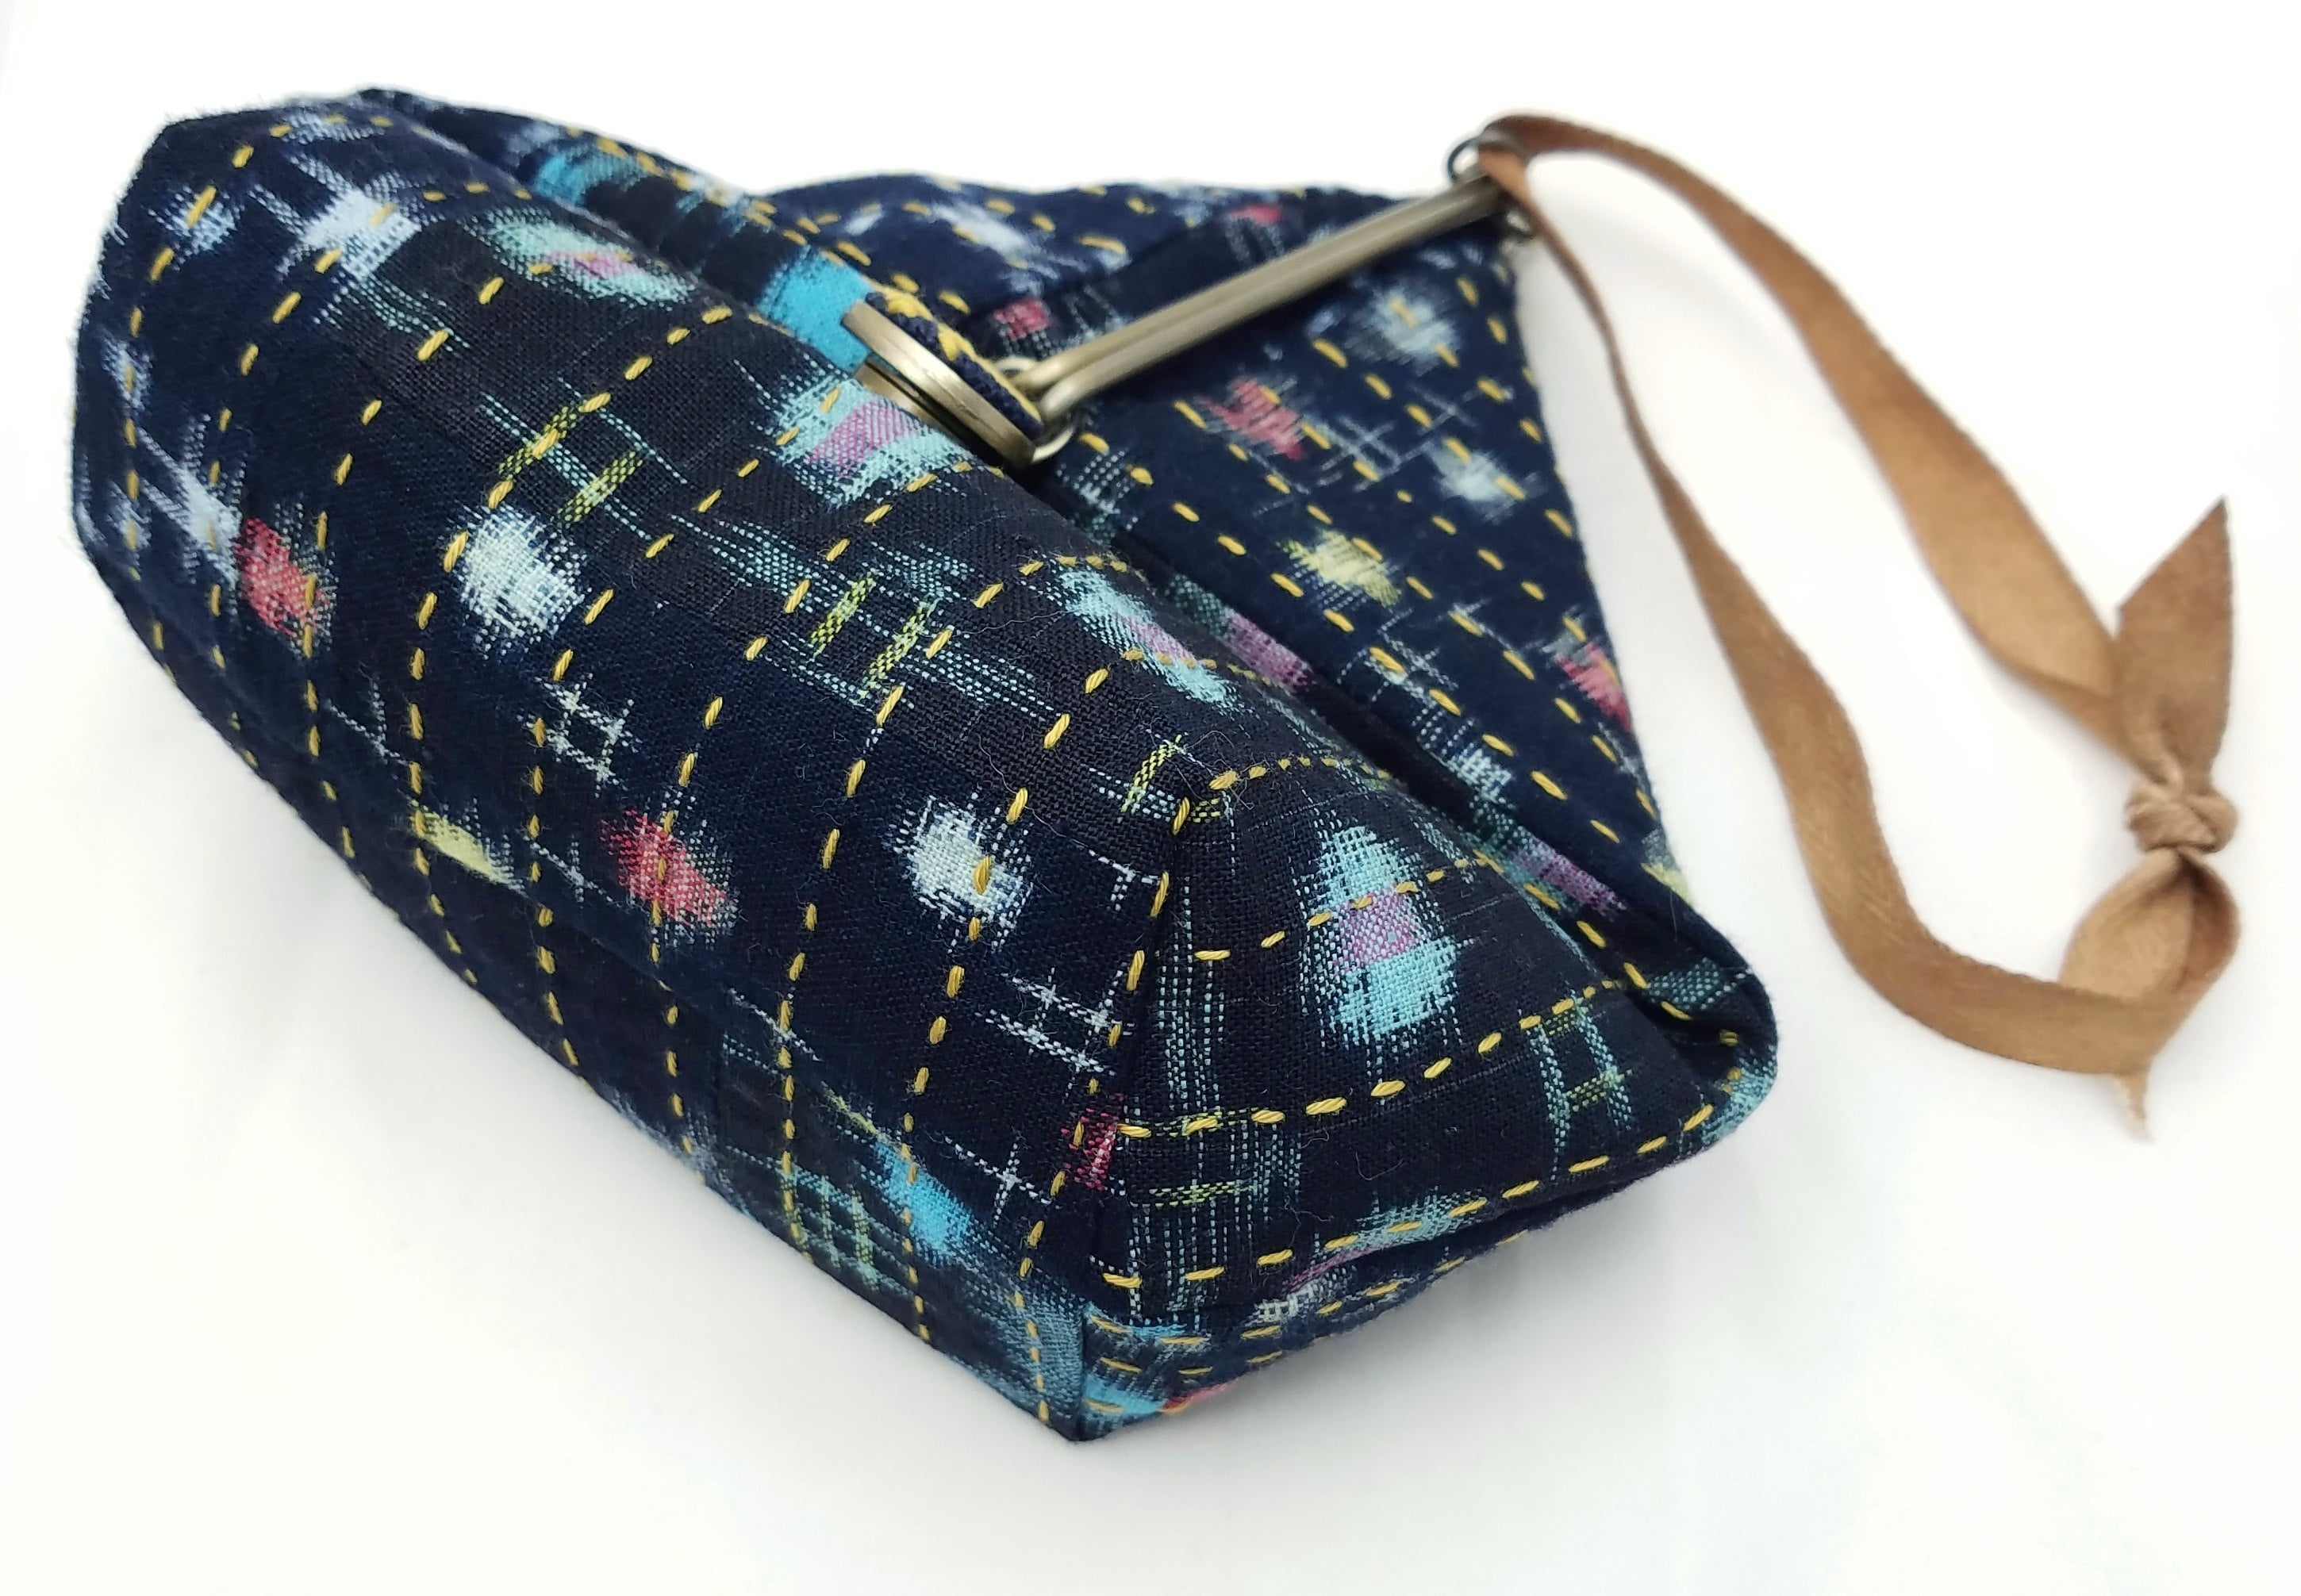
This closure consists of two metal bars and two metal rings. The metal rings are slid over both bars, holding the bars together side by side. After installation, one metal ring will be on the top of the closure and one will be on the bottom. The metals bars are held together by these rings. To open the bag you simply slide the bottom ring up the two bars so that the bars can be separated from one another. This bottom ring is attached to a magnetic snap that allows it to be secured so that the bag can be securely closed. The entire closure seems a little like a puzzle until you actually install it and see how it works.
Installation is extremely easy. To install it you simply add two fabric casings that are each the length of the slide. You then insert the metal bar ends into the casings. The purse is then closed and the magnetic snap is added.
The following diagrams show how the clasp is installed. It is printed on the back of the slide clasps created for QH Textiles that are available here.
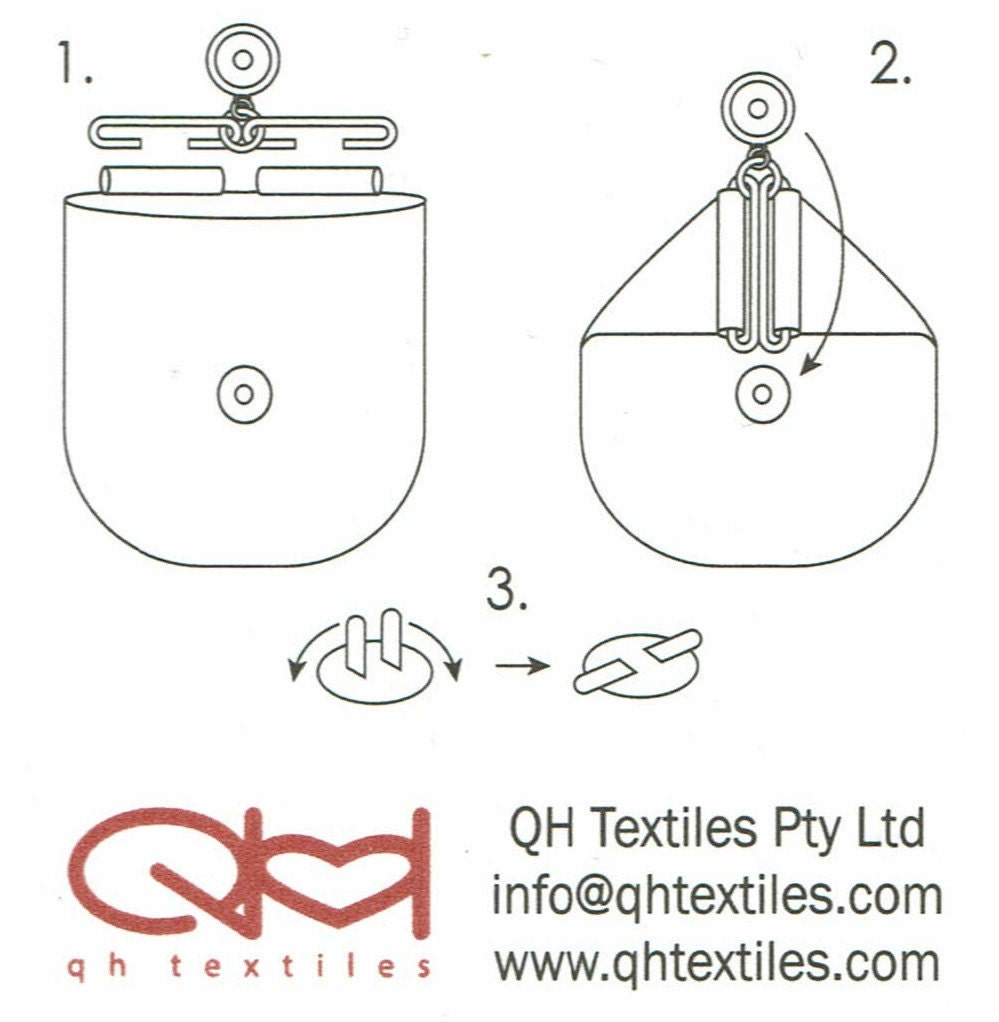
Please note that all these clasps are installed in a similar manner regardless of manufacturer. The slide clasps are made in two sizes: 4 inch (10 cm) and 2 3/4 inch (7 cm). The 4 inch clasps are for bags that are about 8 inches (20 cm) wide while the smaller clasps are for bags that are about 5.5 inches (14 cm) wide.
QH Textiles also publishes two bag patterns using these slides. Since I had not worked with these clasps before I decided to create a bag using the QH Textiles Slide Clasp Purse A Pattern.
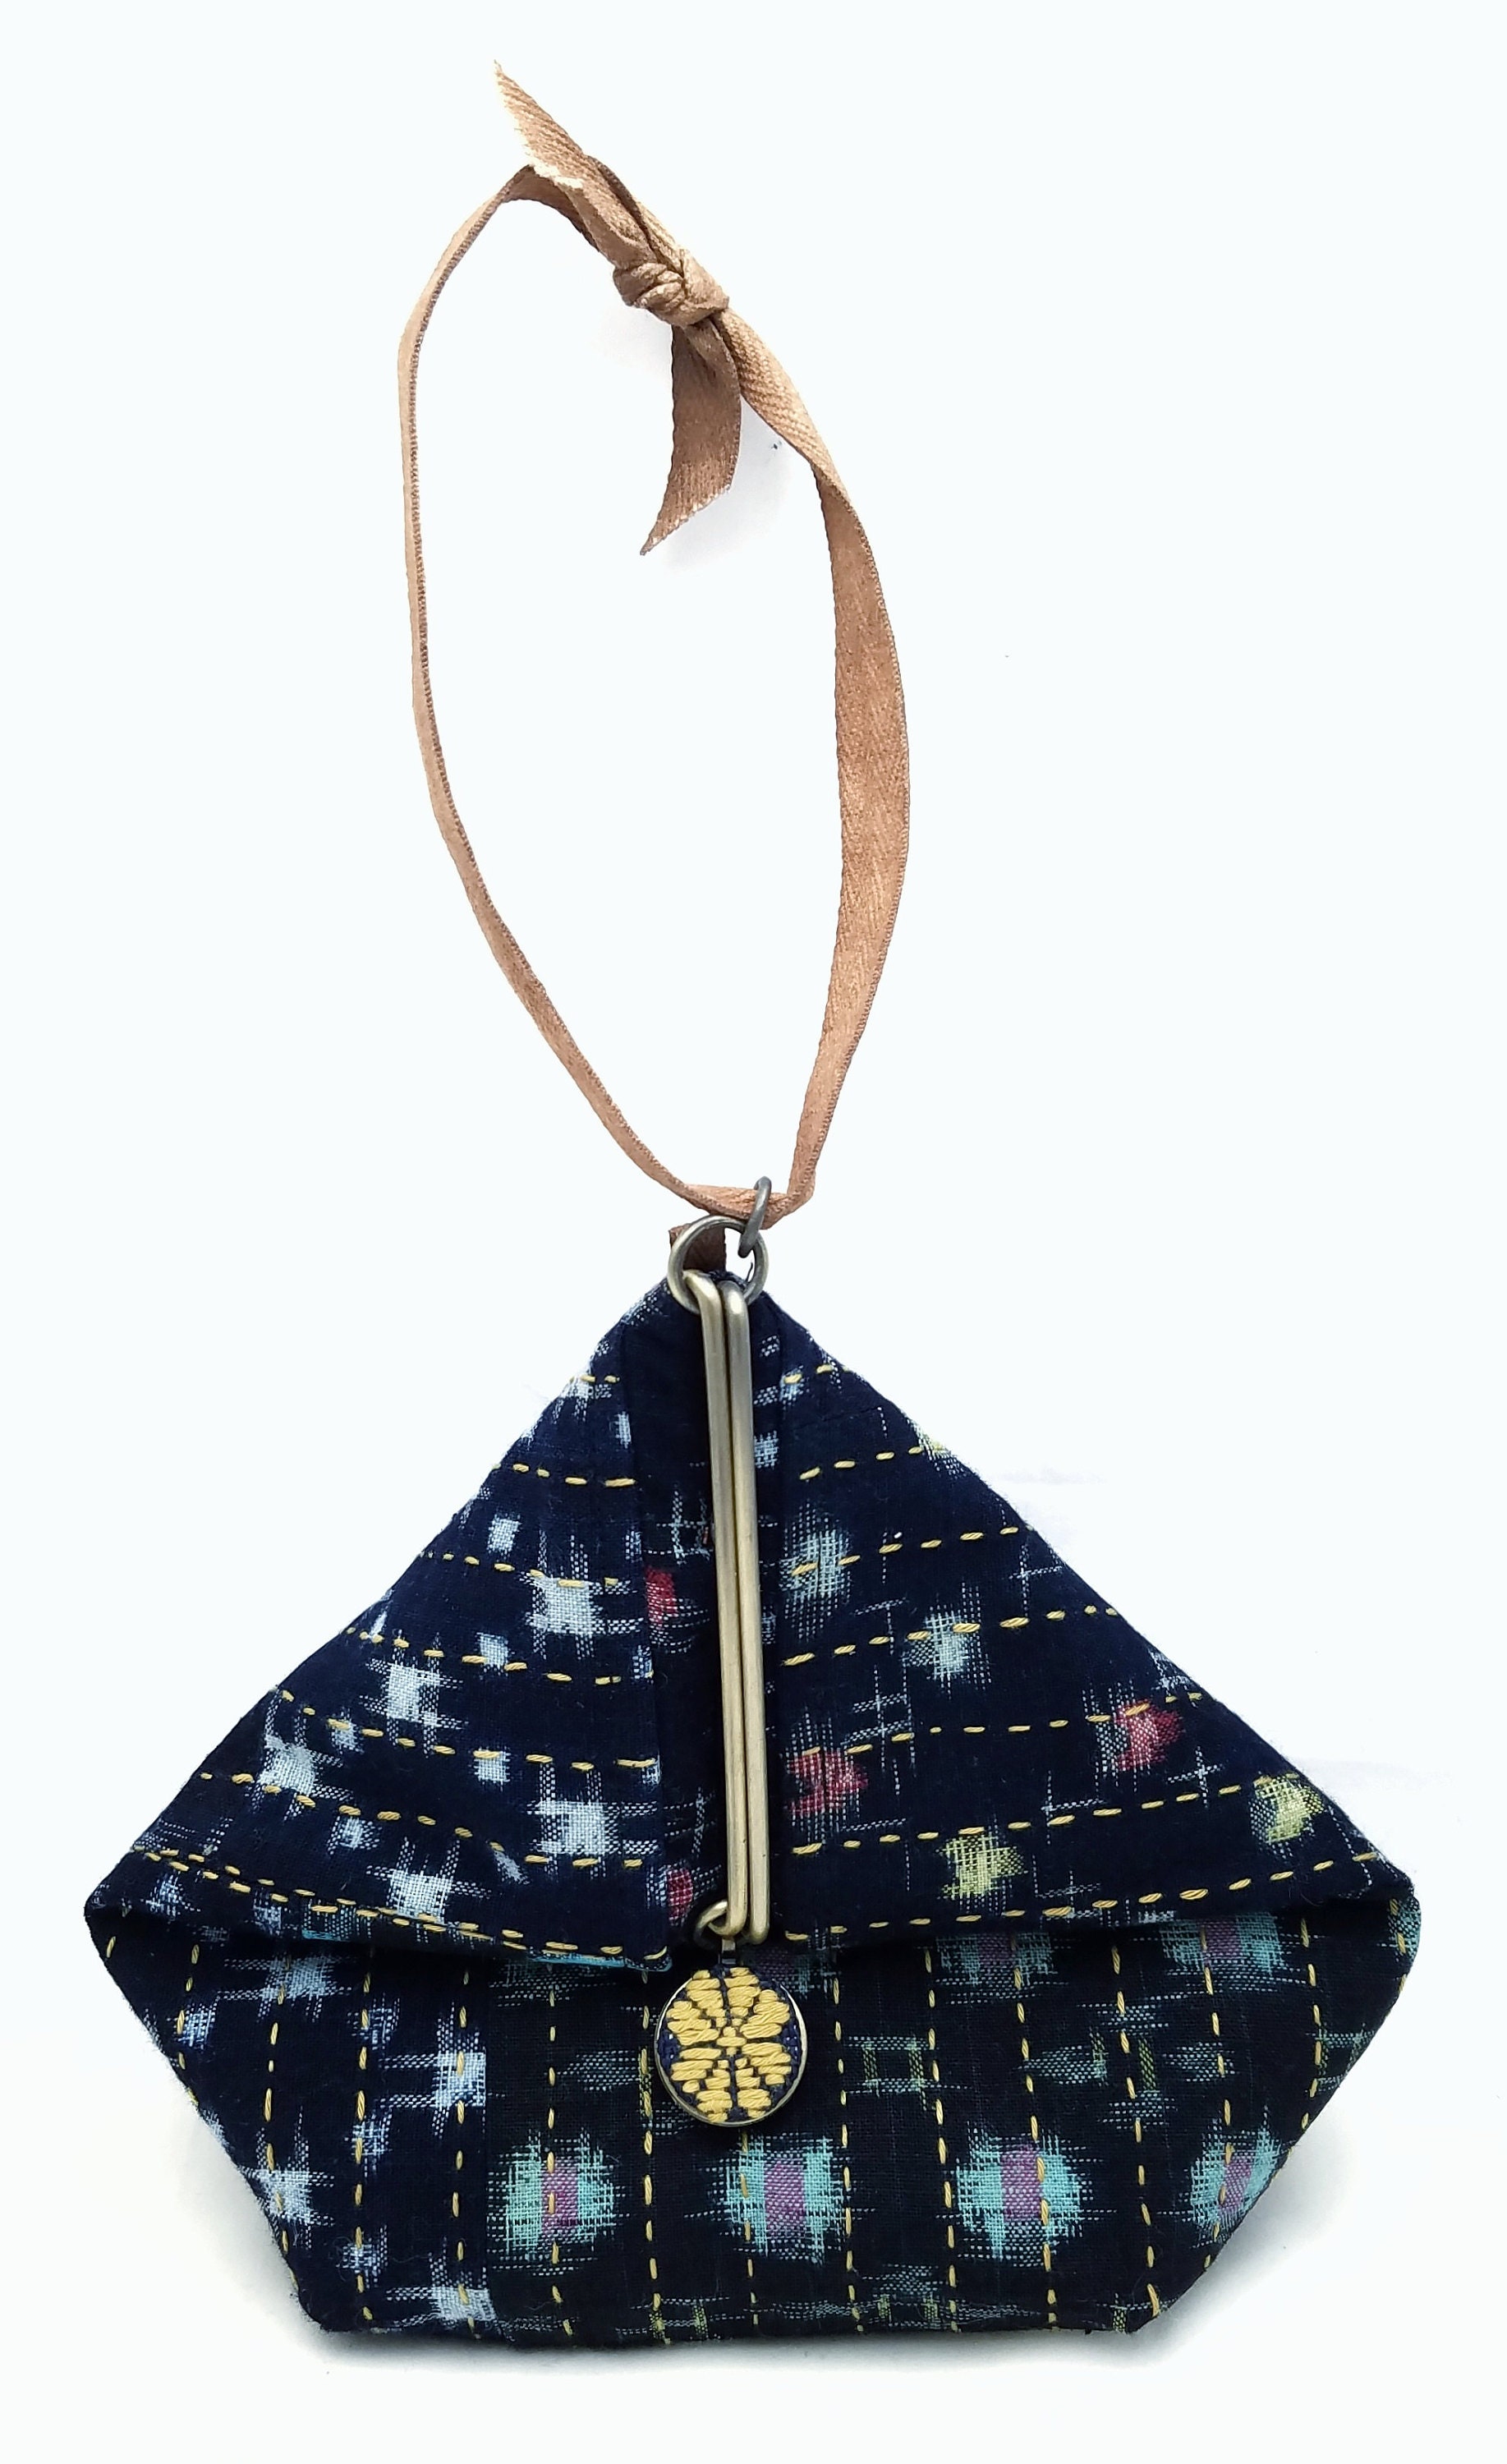
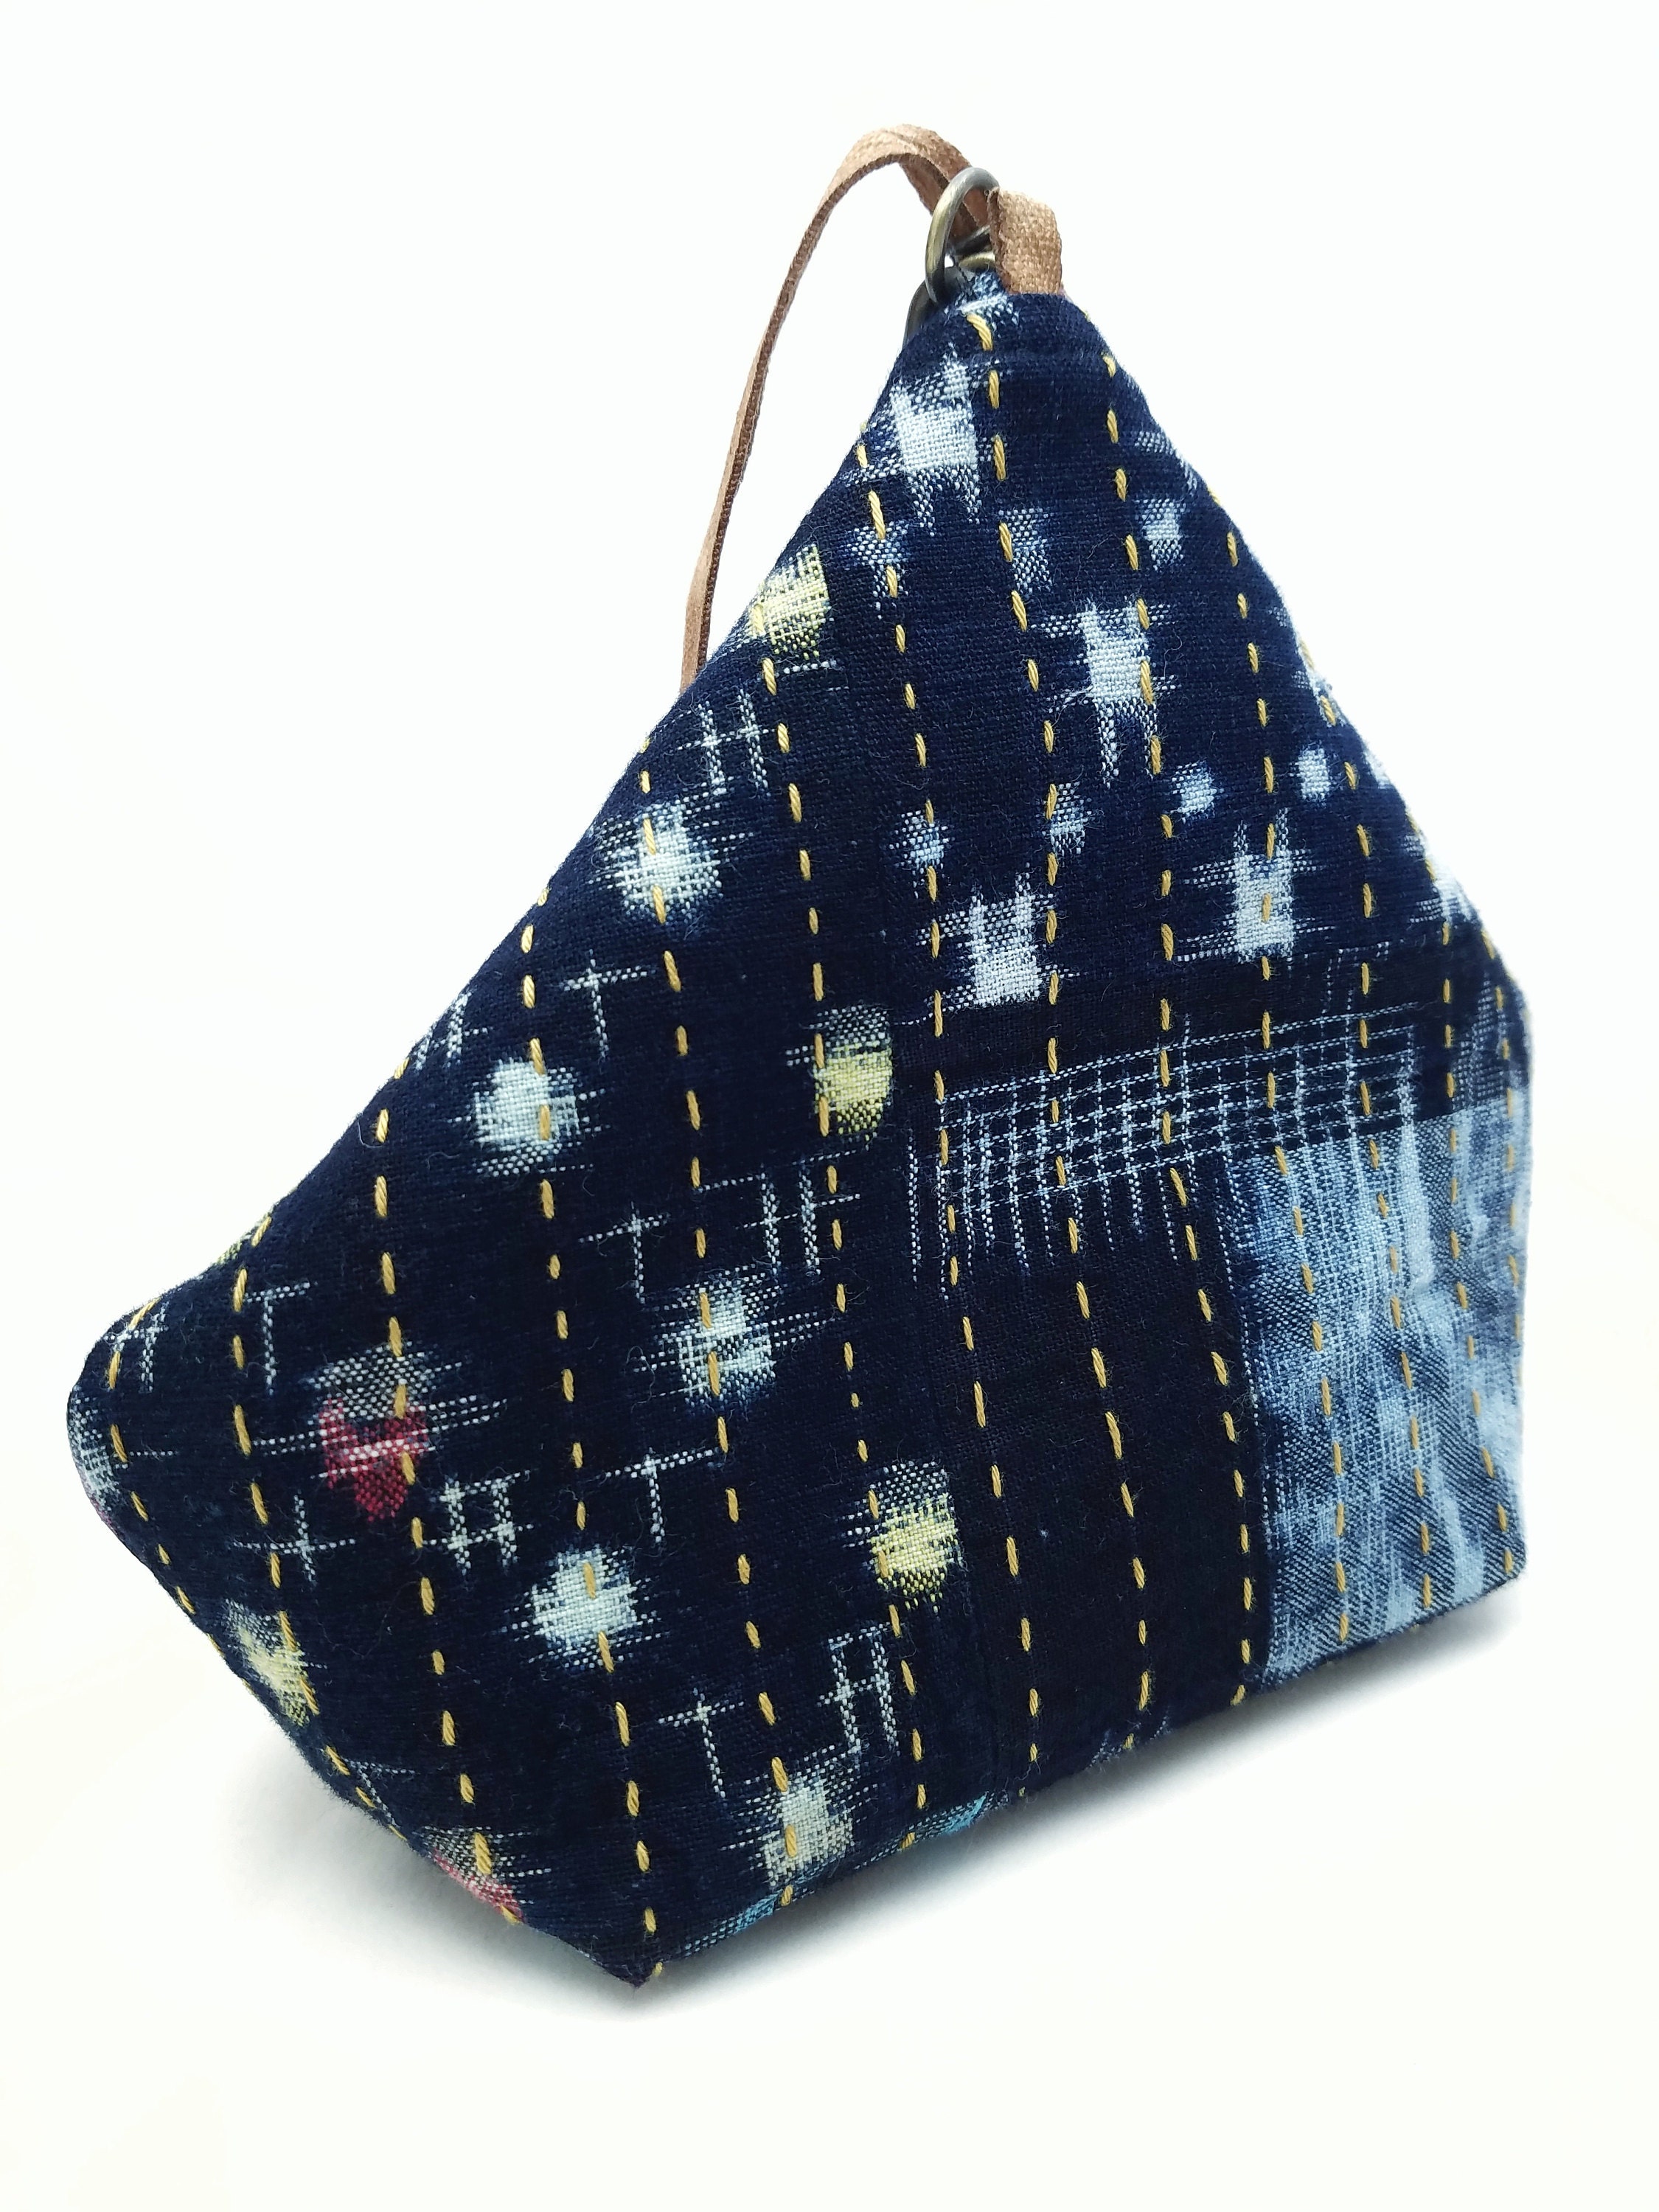
I used some vintage and antique kasuri, cotton scraps to create a patchwork exterior instead of using a single piece of fabric. I added some sashiko stitching prior to sewing the bag together to give the bag a vintage look. The strap was created with twill, cotton tape that I dyed with kakishibu (persimmon dye).
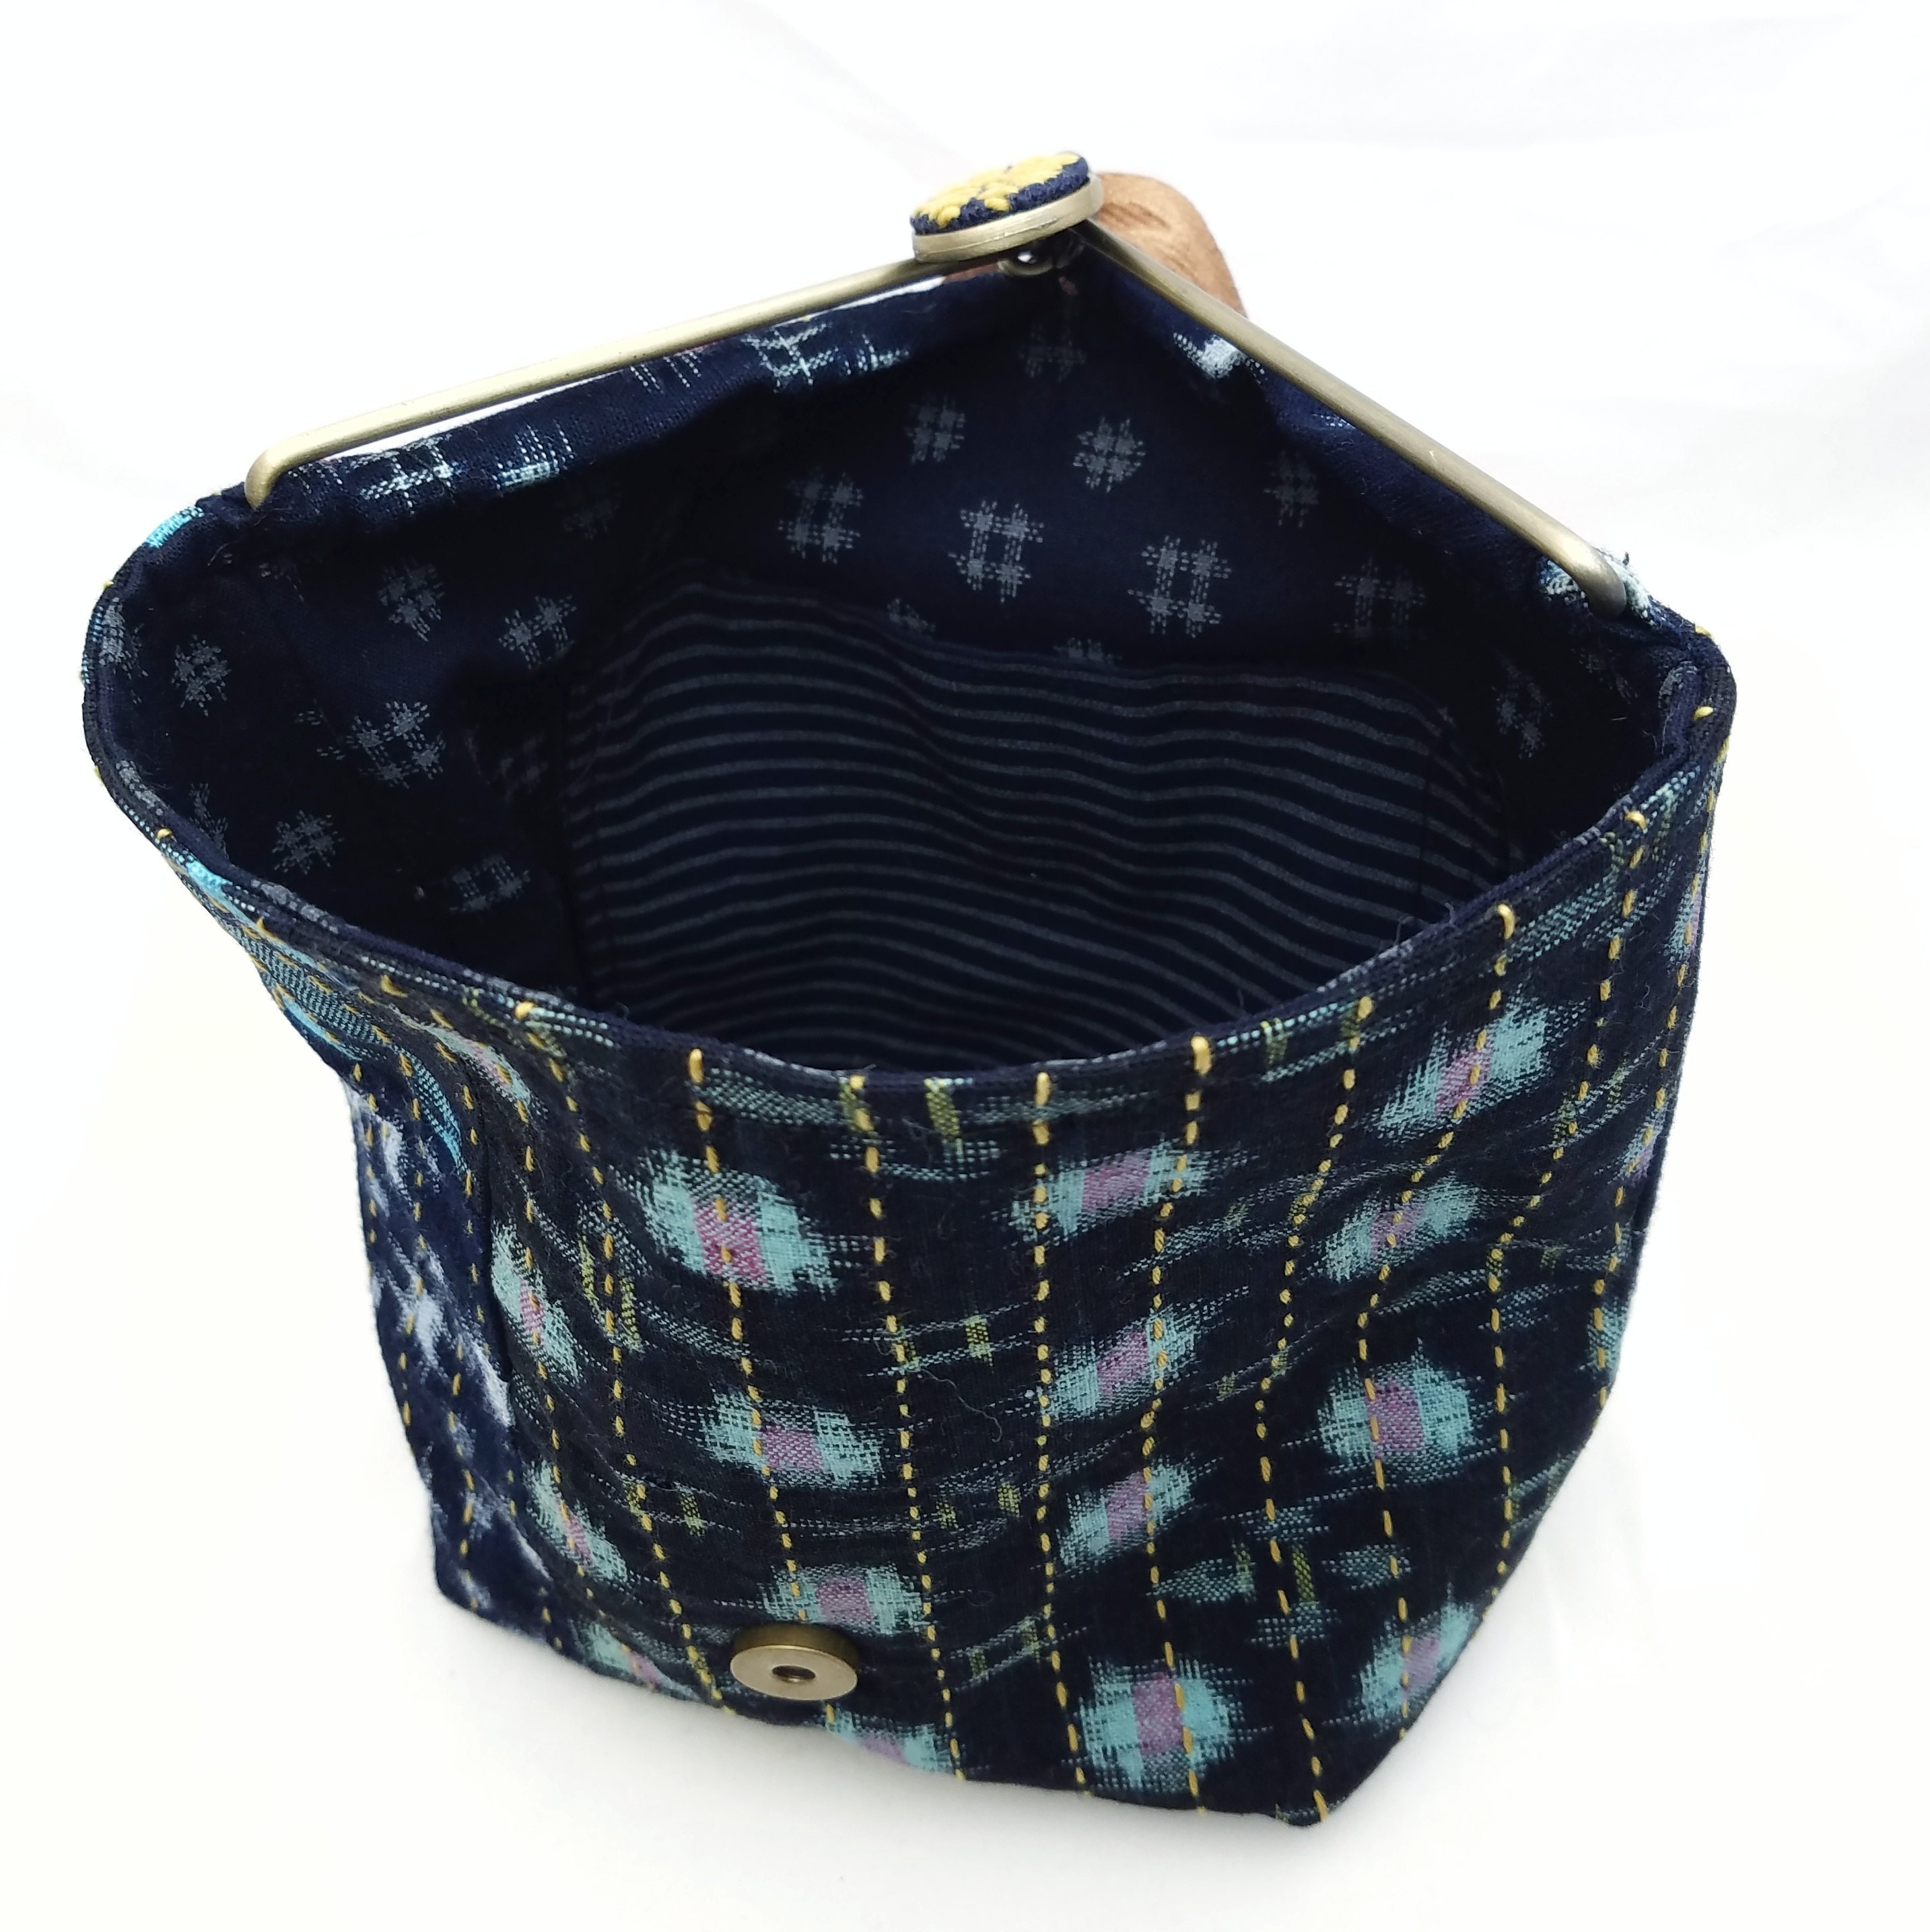
The bag came together very quickly and easily. There is a small pocket in the interior.
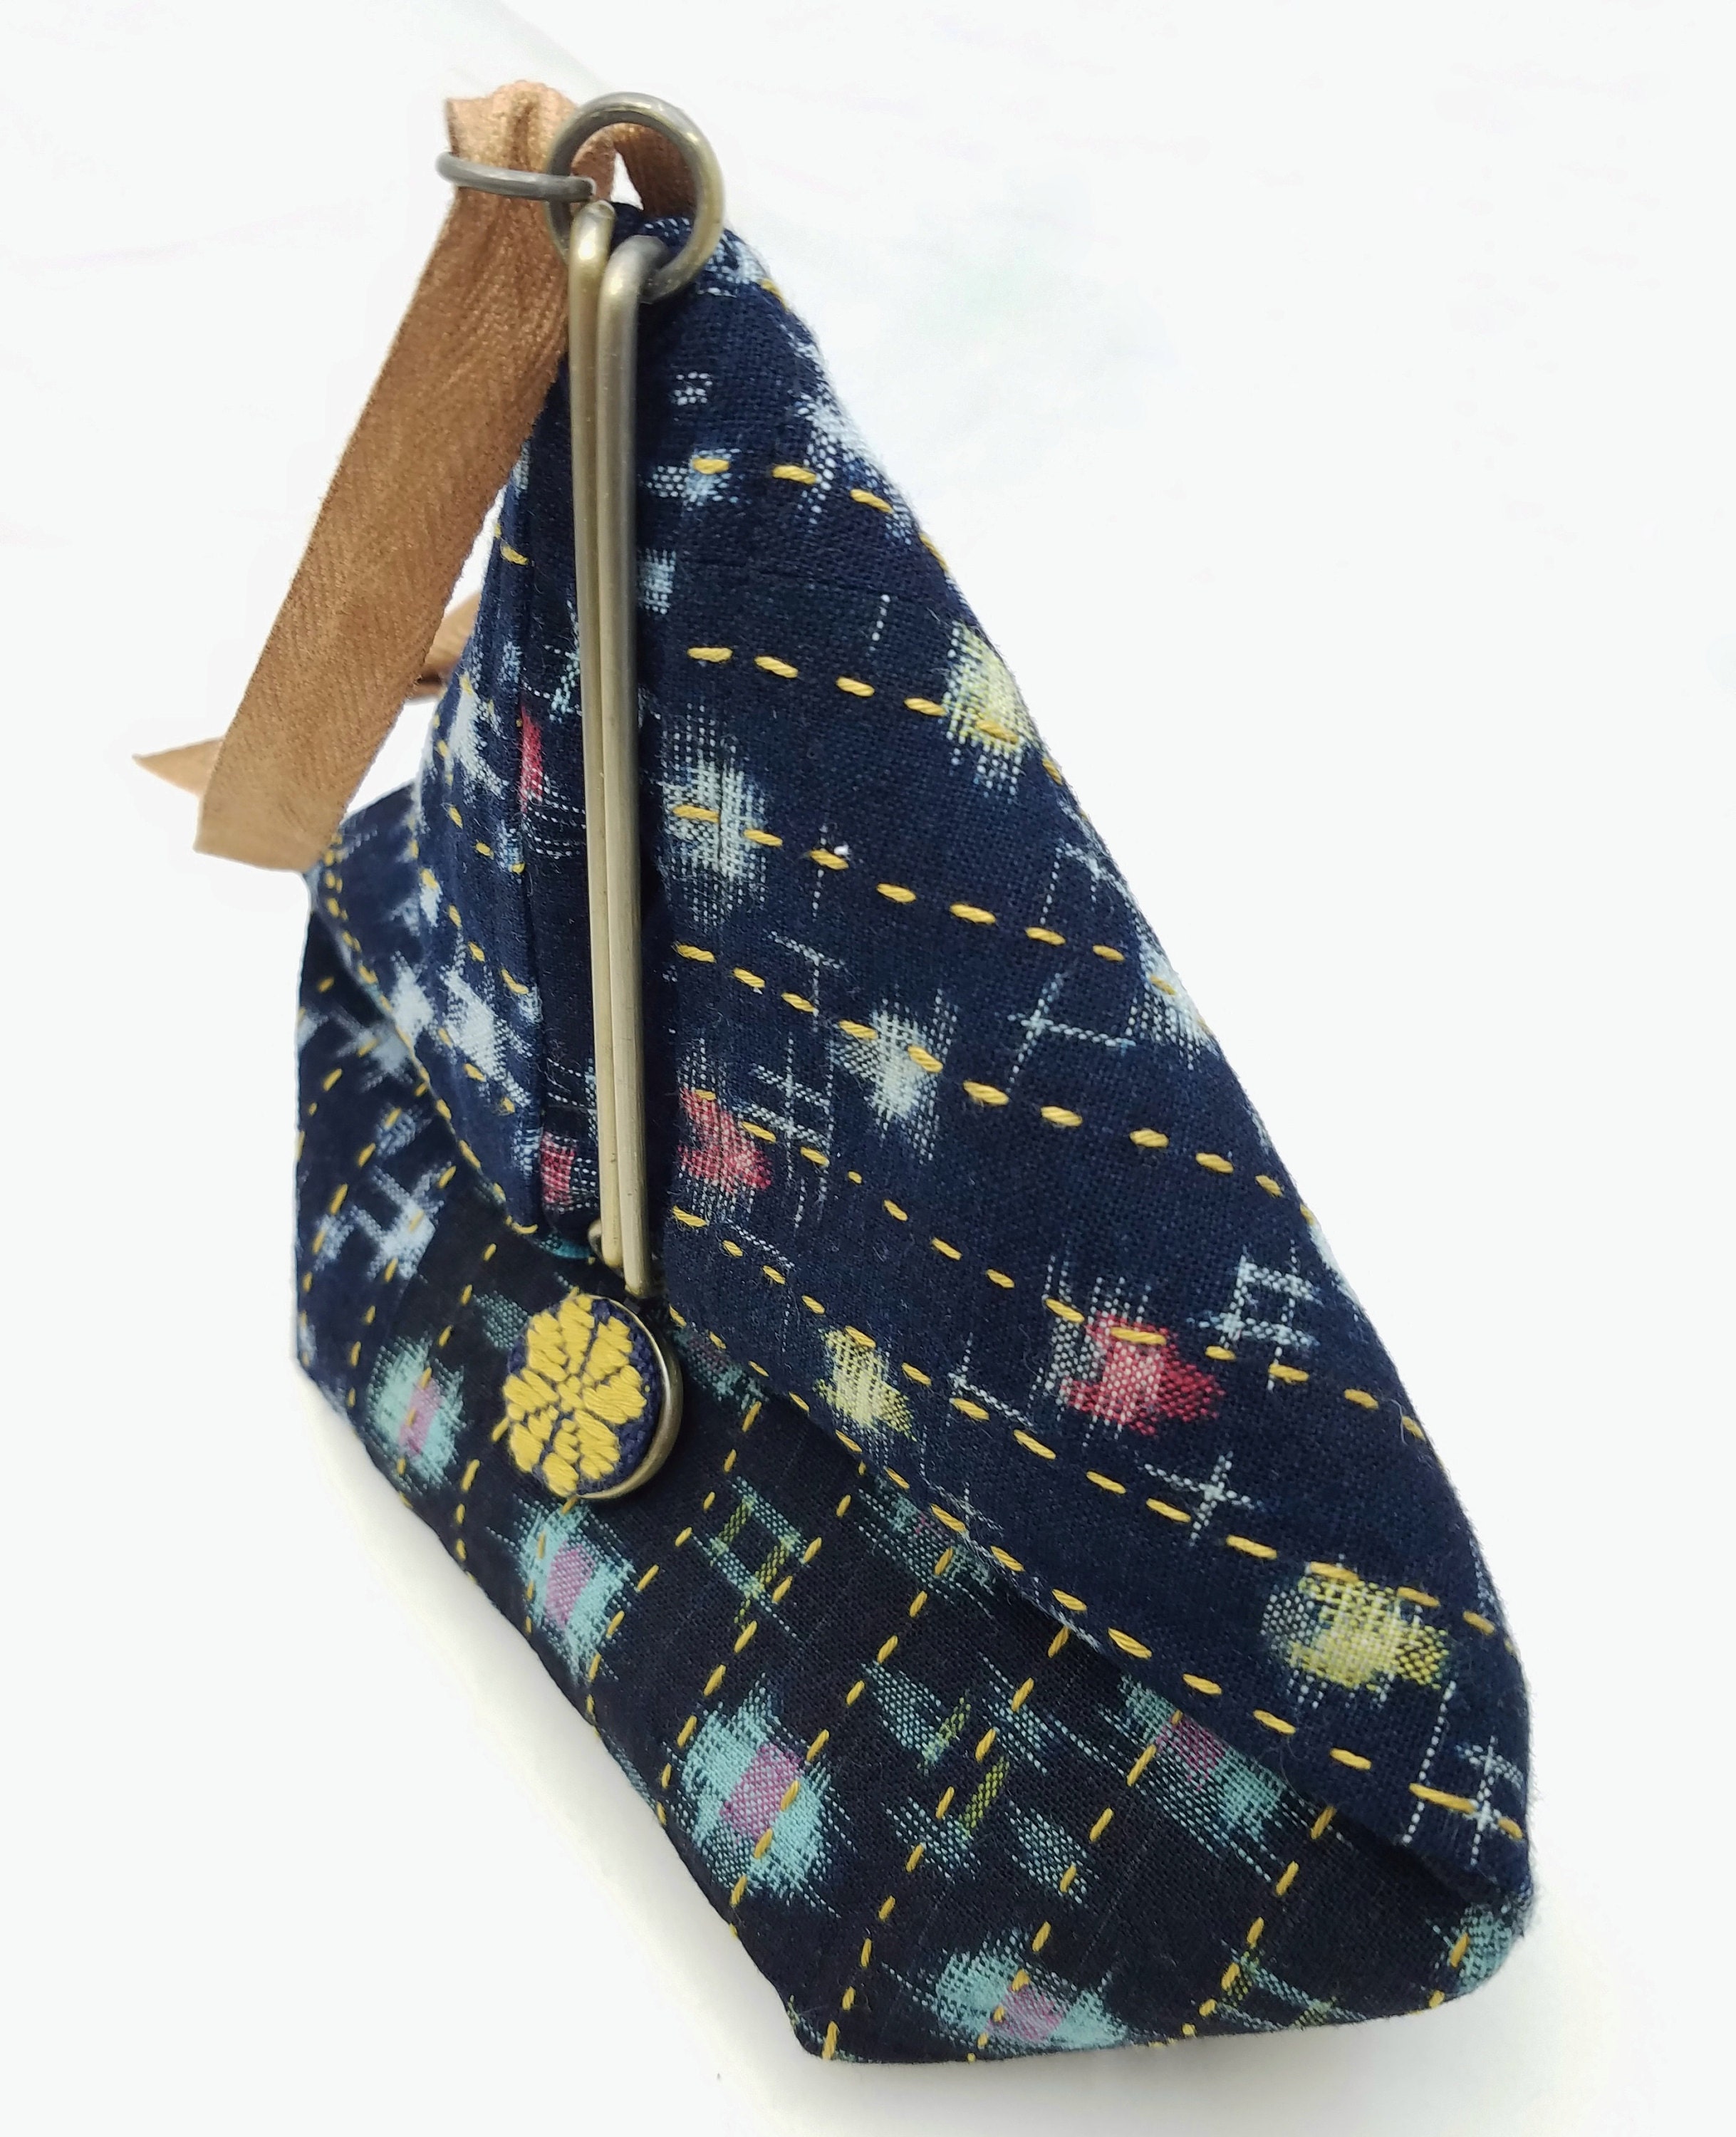
The side clasp that I chose for this bag had a "button blank" for the front of the magnetic snap. The clasps are available with an owl, coin or blank design. I made a small kogin embroidery and covered the button blank with this.

My favorite thing about this type of closure is how wide the bag can open. Two layers of woven interfacing make it sturdy enough to stand upright.
I did make two small deviations from the pattern. These changes are explained in the pattern listing here.
This is a great project to use up your small scraps and to have some fun with some sashiko stitching. Denim scraps or cotton canvas bits would also be perfect. The pattern can easily be altered to make the finished pouch wider at the bottom or taller. A komebukuro (rice pouch) design may also be suitable as long as each side is the length of the slide bar.